Server locations

Locations

Tier callouts with requirements, threats, notes, and full screenshots so players can see the minimap markers.

Starter Quest and Quest Board

First stop before heading back into Chernarus.

The starter quest and quest board help new and returning players pick a direction, grab early objectives, and keep everyday PvE runs from turning into guesswork.

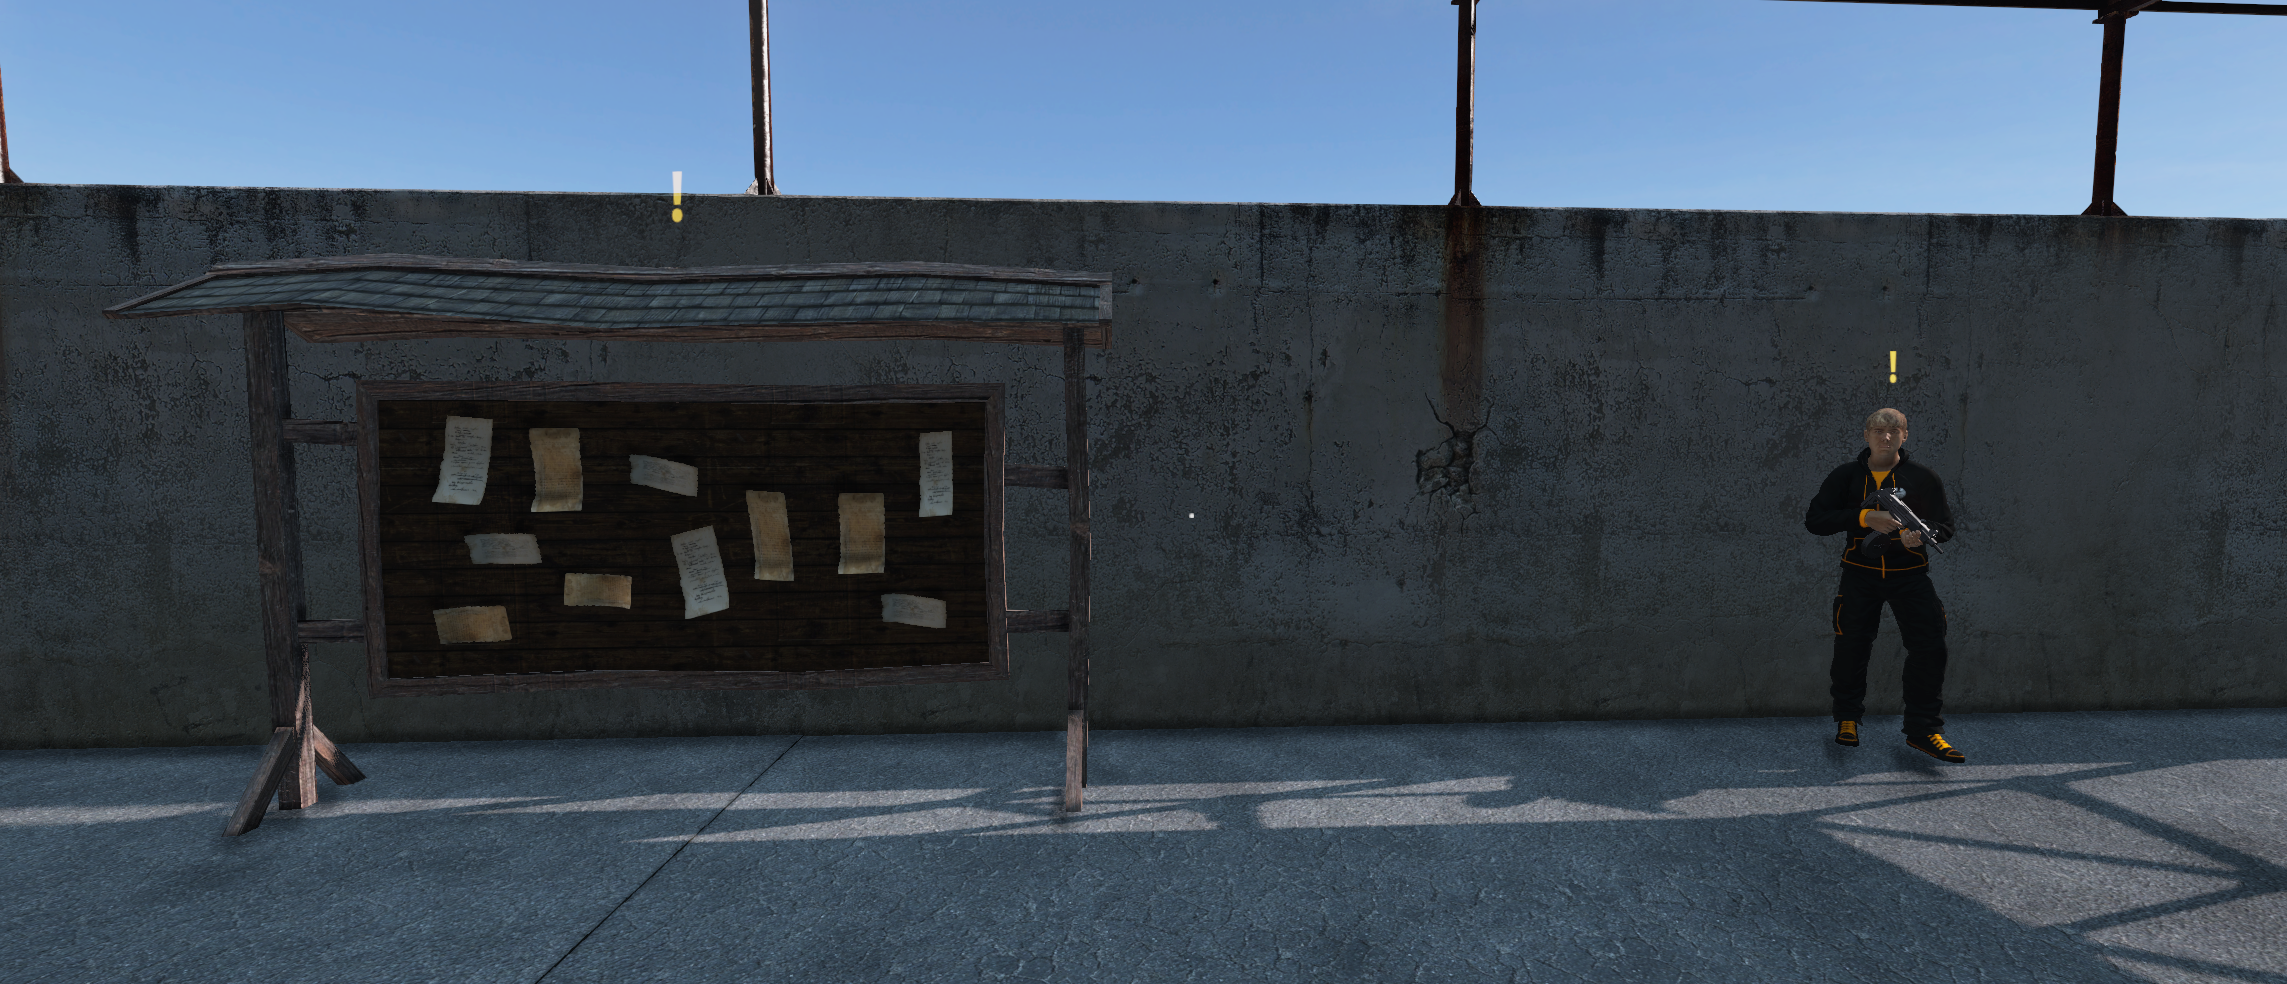
Starter Quest NPC and Quest Board at the trader hub

Hub Quest Area

Location
Starter Quest and Quest Board services are available at the main trading hubs.
Starter Quest
Talk to the starter quest NPC when you first arrive so the server can point you toward early goals and first-step rewards.
Quest Board
Use the board to check available quests, pick work that matches your current kit, and keep progression moving between loot runs.
New player habit
Check the quest area before leaving the hub, especially after spawn, after a restart, or when you are unsure what to do next.
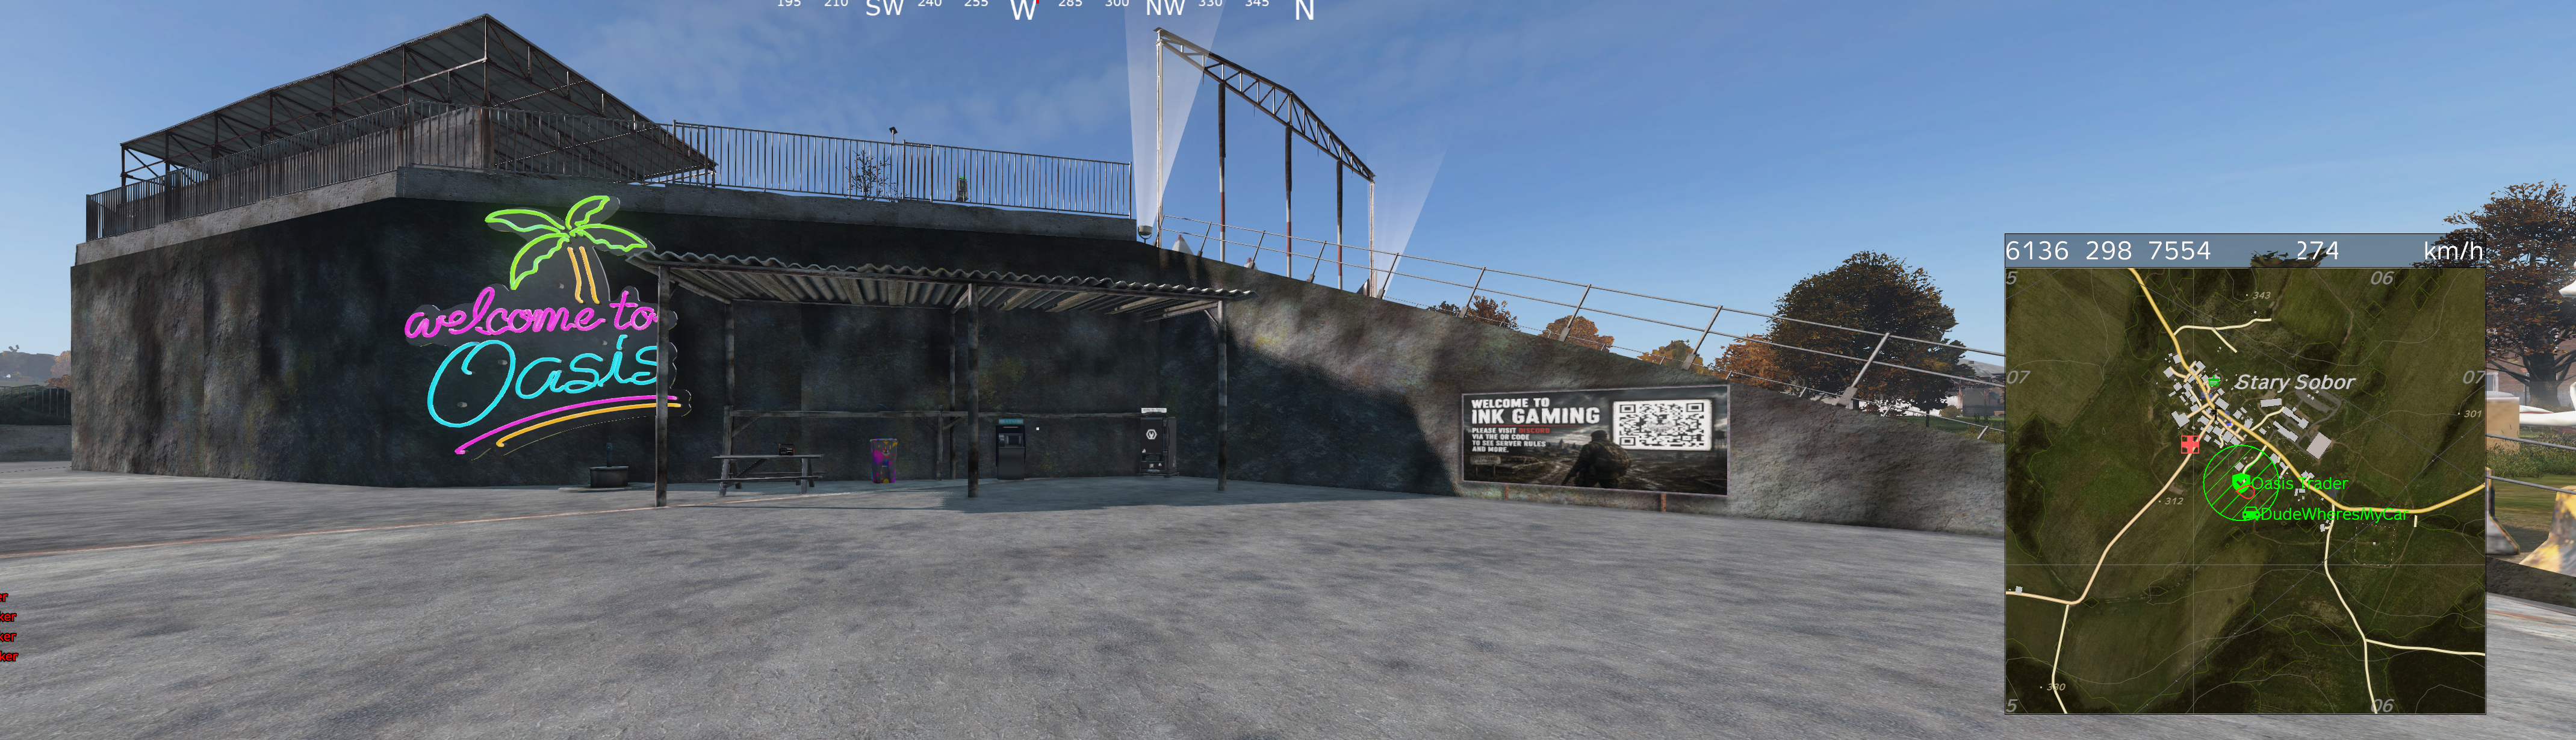
Main Trader Hub - Oasis location screenshot
Main Hub

Main Trader Hub - Oasis

Entry
Safe starting point for everyday trading, basic supplies, and player services.
Zone
Trader zone. Safe Zone.
Location note
Oasis Trader near Stary Sobor. Use the screenshot minimap marker to confirm the hub.
  • Find basic tools, building supplies, starter gear, meds, and food or drink here.
  • Use the Ink Coin exchange at Oasis for server progression currency needs.
  • P2P Market, Quest Board, and Start Quest services are available here.
  • Teleport to Ink Yard from Oasis when you need the smaller second hub.
  • Good first stop after spawn to learn vendors, read signs, and get organized.
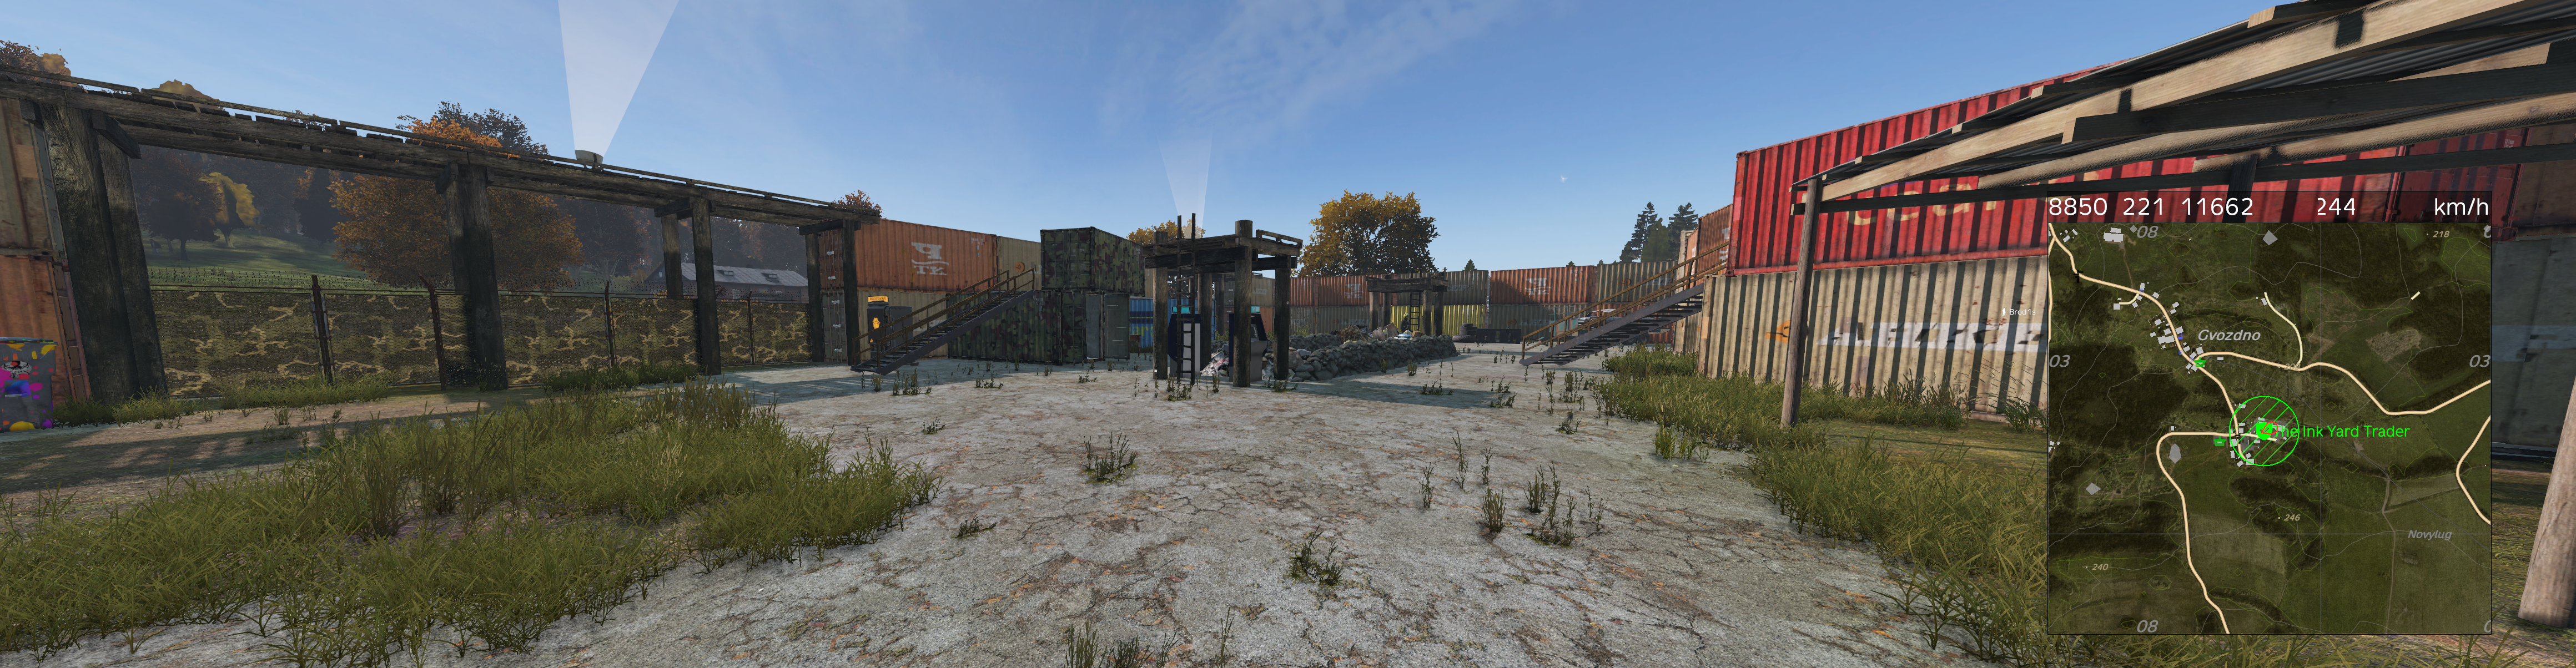
Ink Yard Trader location screenshot
Second Hub

Ink Yard Trader

Entry
Smaller second main hub reached by teleport from Oasis.
Zone
Trader zone. No Ink Coin exchange at this location.
Location note
Ink Yard Trader near Gvozdno and Novy Lug. Use the screenshot minimap marker for the exact area.
  • This is where players get their first car and early vehicle basics.
  • Use Ink Yard for smaller-hub services when Oasis is more than you need.
  • Ink Yard does not have Ink Coin exchange, so use Oasis for that.
  • Keep vehicles organized and follow garage and impound rules.
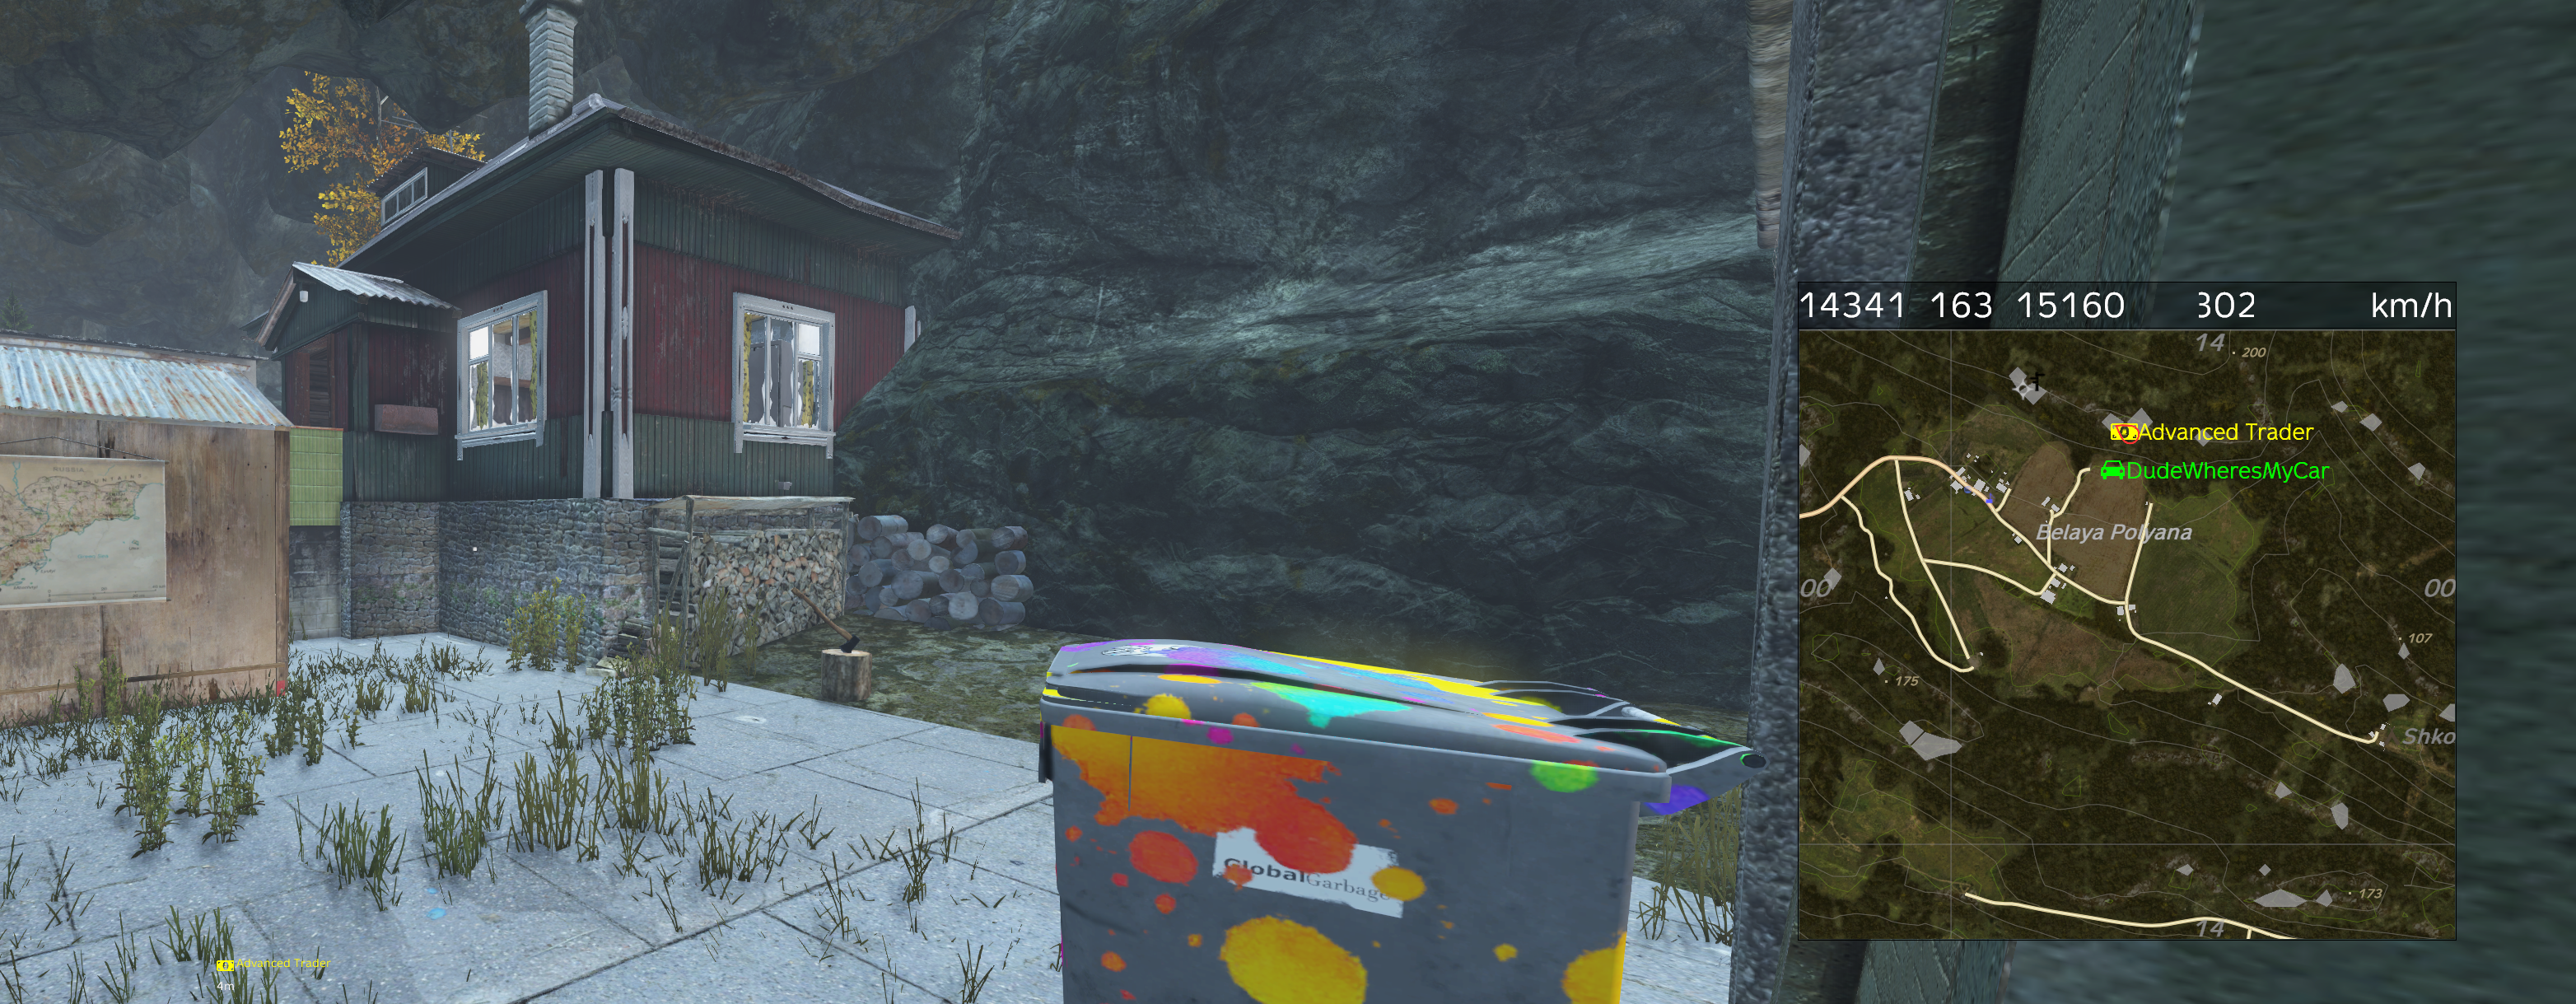
Advance Trader location screenshot
Vendor

Advance Trader

Entry
Advanced vendor stop for late-game supplies and DNA card cleanup.
Threat
No threat.
Location note
Advance Trader near Belaya Polyana. Use the screenshot minimap marker to confirm the location.
  • Sell extra DNA cards here.
  • Buy custom Ghost gear.
  • Buy custom Ink tools.
  • Buy custom Ink meds.
  • Buy custom Ink food and drink.
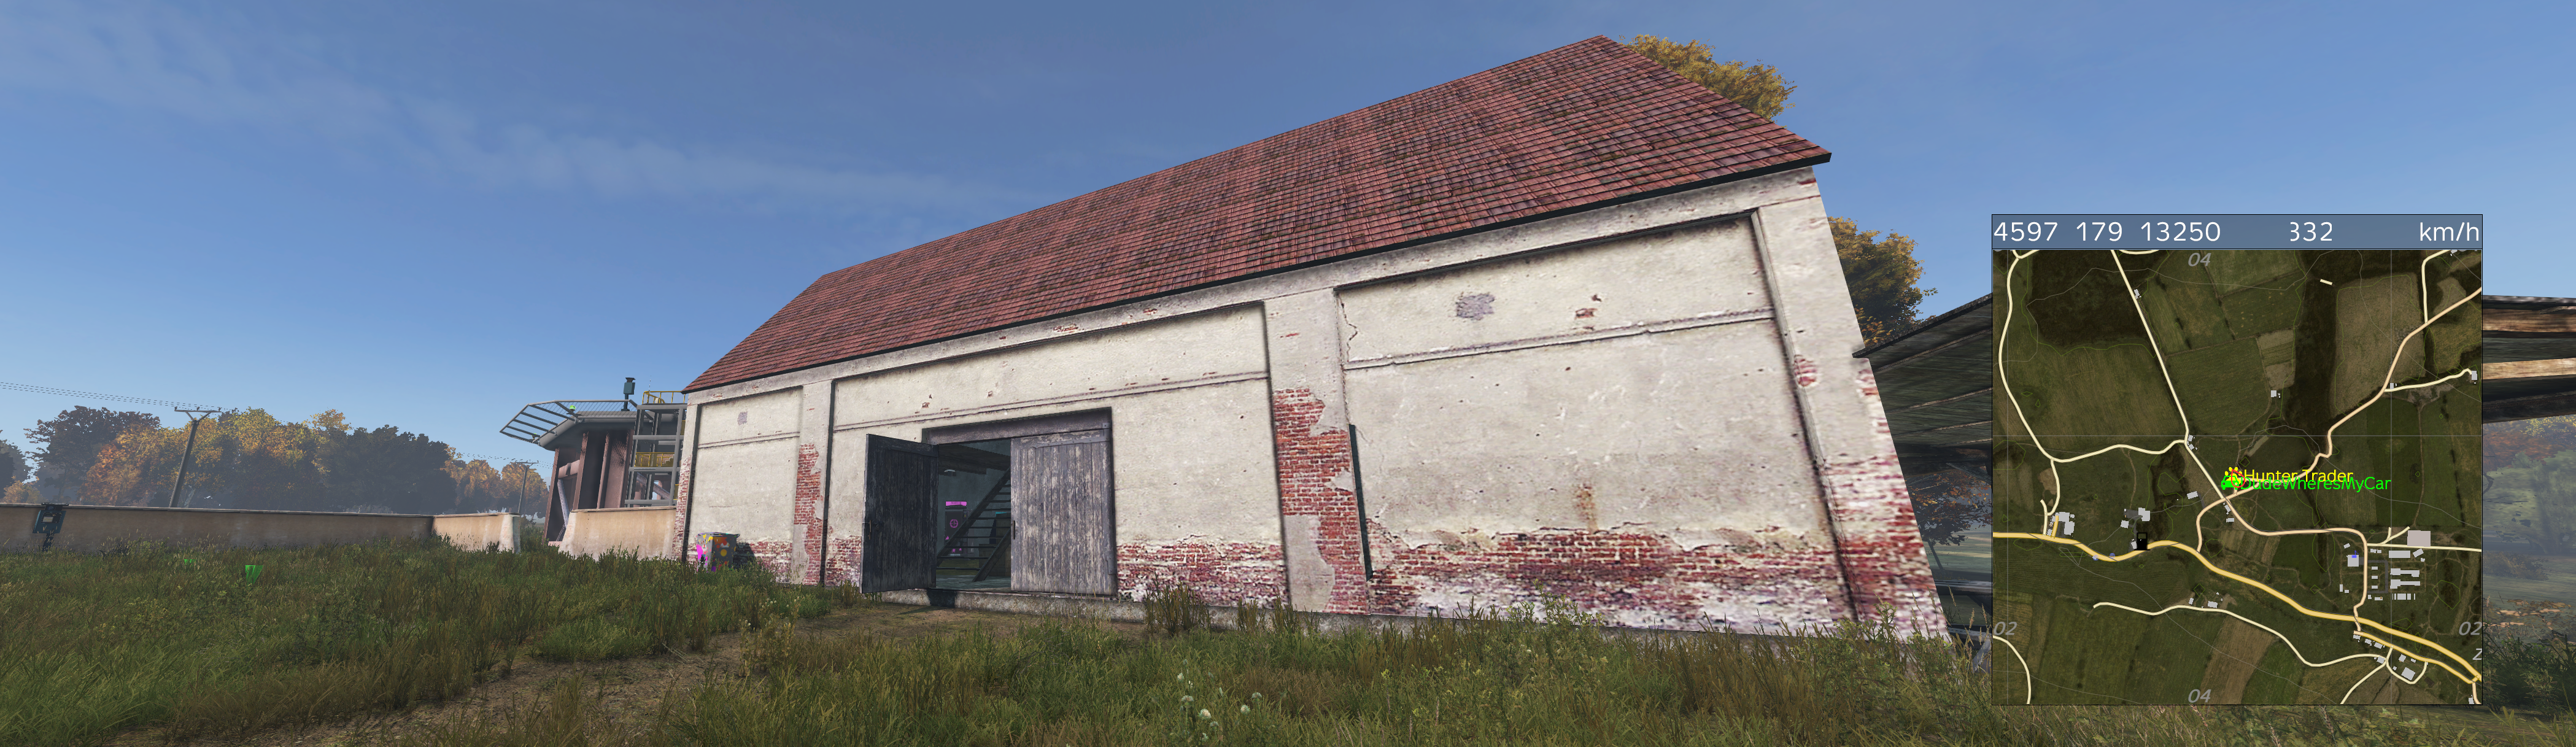
Hunter Trader location screenshot
Vendor

Hunter Trader

Entry
Hunting vendor for turning custom animal drops into money.
Threat
No threat.
Location note
Hunter Trader location. Use the screenshot minimap marker to confirm the building.
  • Sell custom Ink pelts here.
  • Sell custom heads and trophies.
  • Bring hunting loot here when you are ready to cash out.
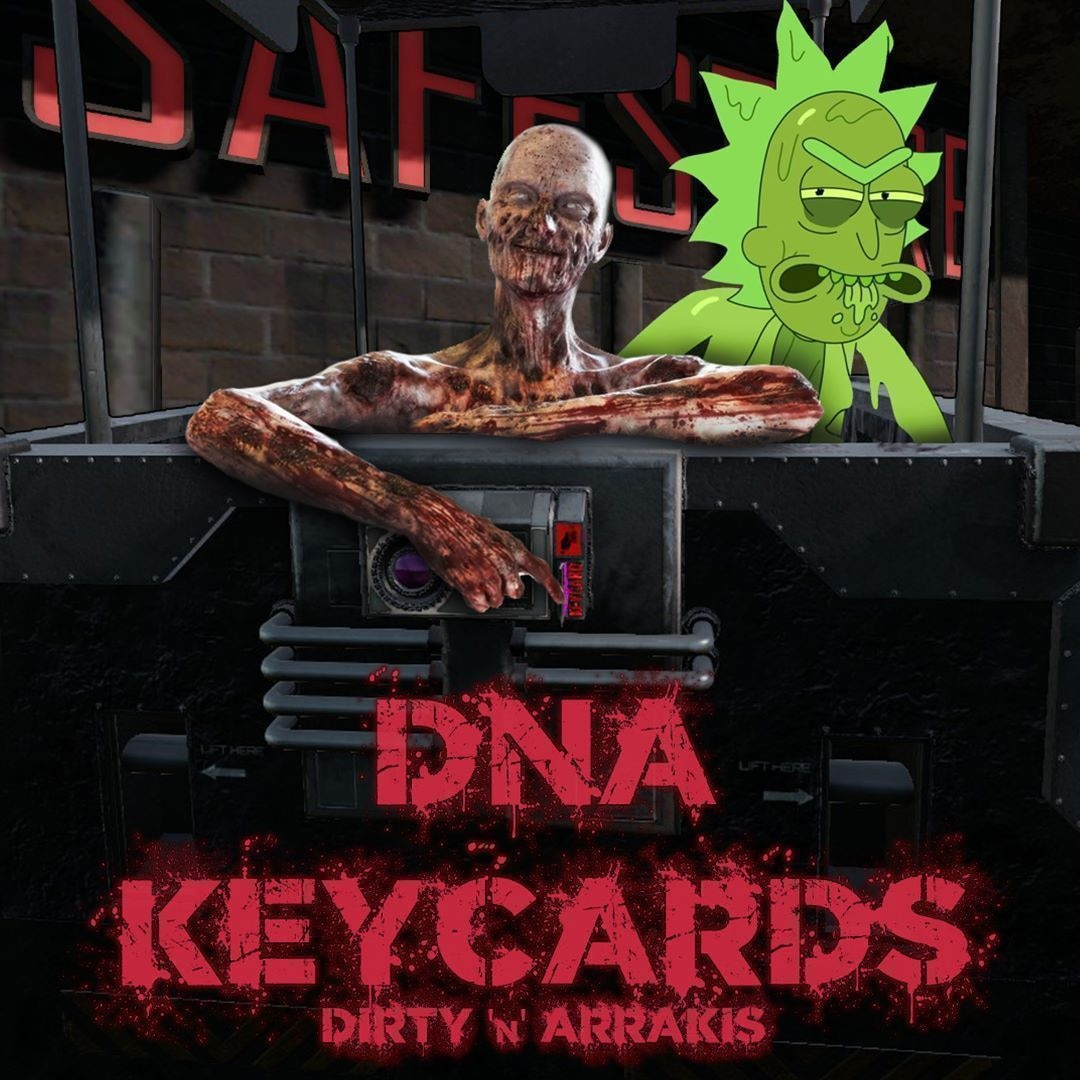
DNA Keycards location screenshot
Chernarus

DNA Keycards

Entry
Matching DNA keycard is required for each DNA safestore color.
Reset
Safestores reset every 60 minutes.
Location note
DNA safestores are spread across Chernarus by color tier.
  • Yellow, Green, and Blue: 9 possible locations, 5 active at one time each.
  • Purple: 10 possible locations, 5 active at one time.
  • Red: 9 possible locations, 3-4 active at one time.
  • Workbench items are sold at Black Market as purchase-only items.
  • Extra inactive DNA keys can be sold at Advance Trader.
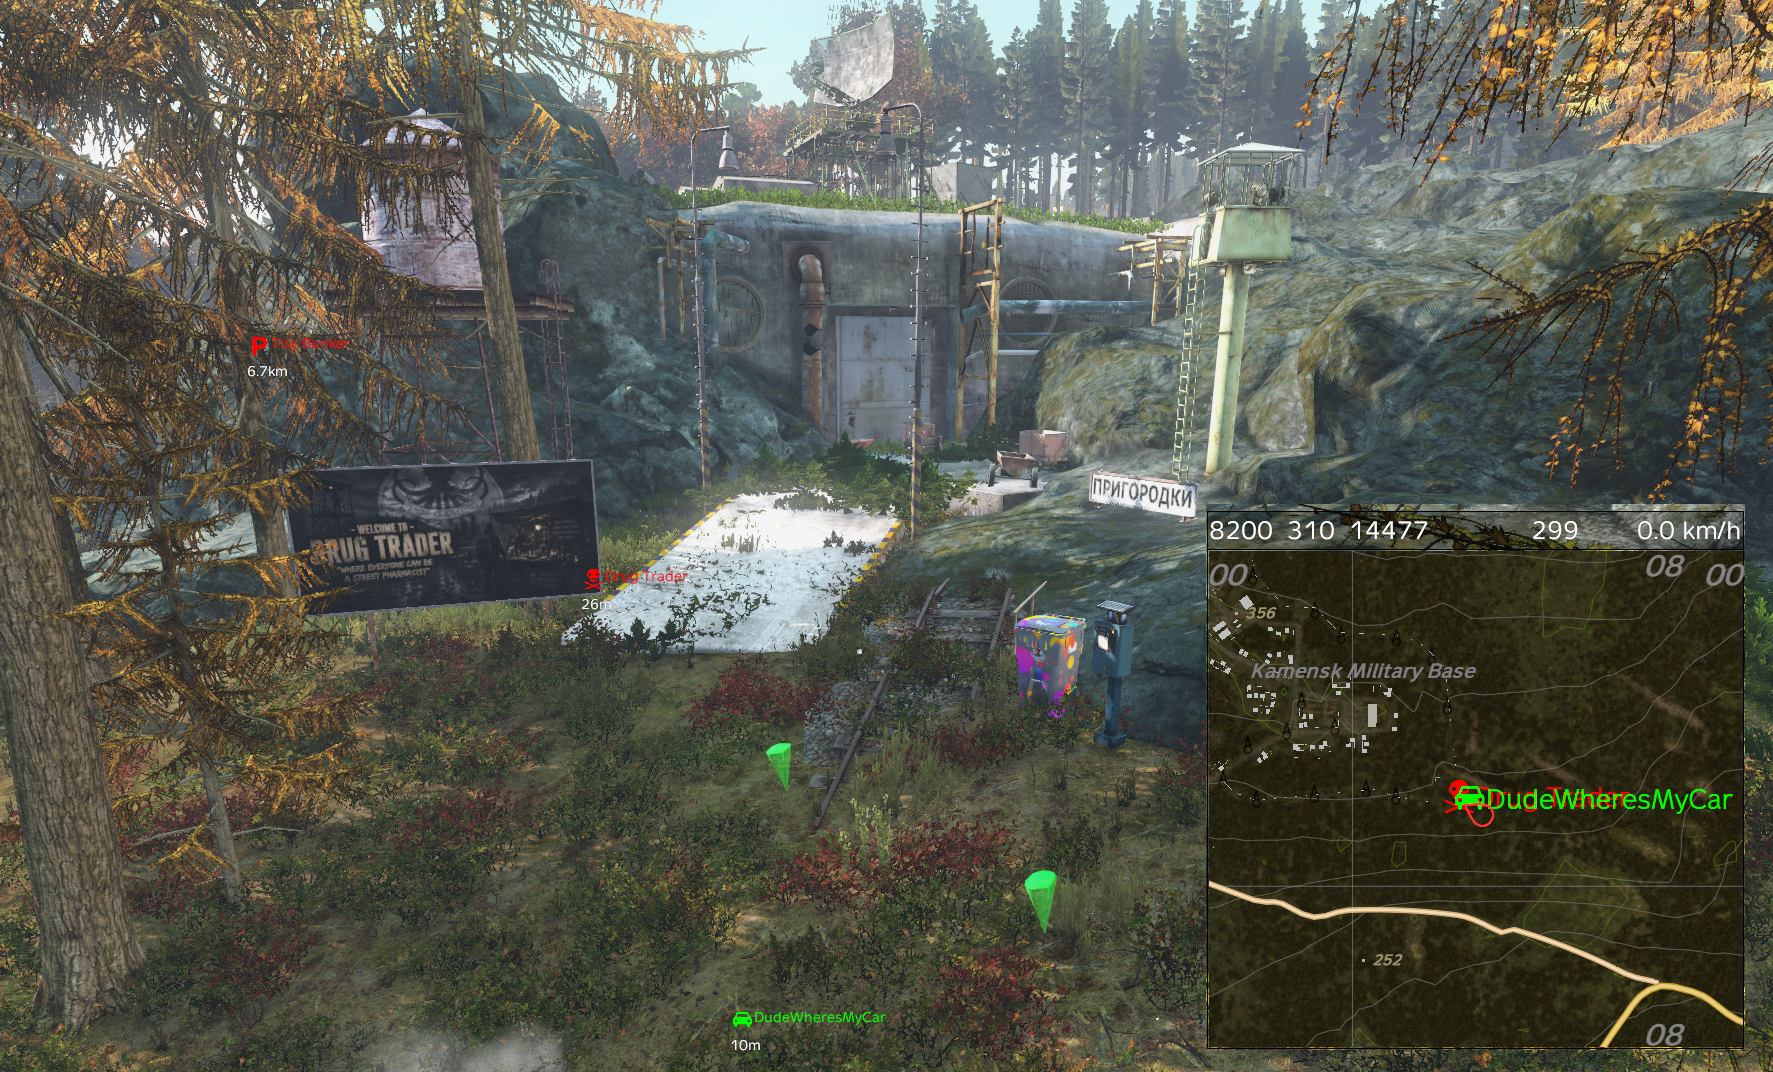
Drug Trader location screenshot
Tier 1

Drug Trader

Entry
Punchcard needed to enter.
Threat
Normal Zombies and AI is present.
Location note
Located near Kamensk Military Base on the custom map.
  • Bring a vanilla weapon and multiple mags.
  • Use the screenshot and minimap marker to confirm the entrance.
  • Treat the area as an early progression stop after Step 2 prep.
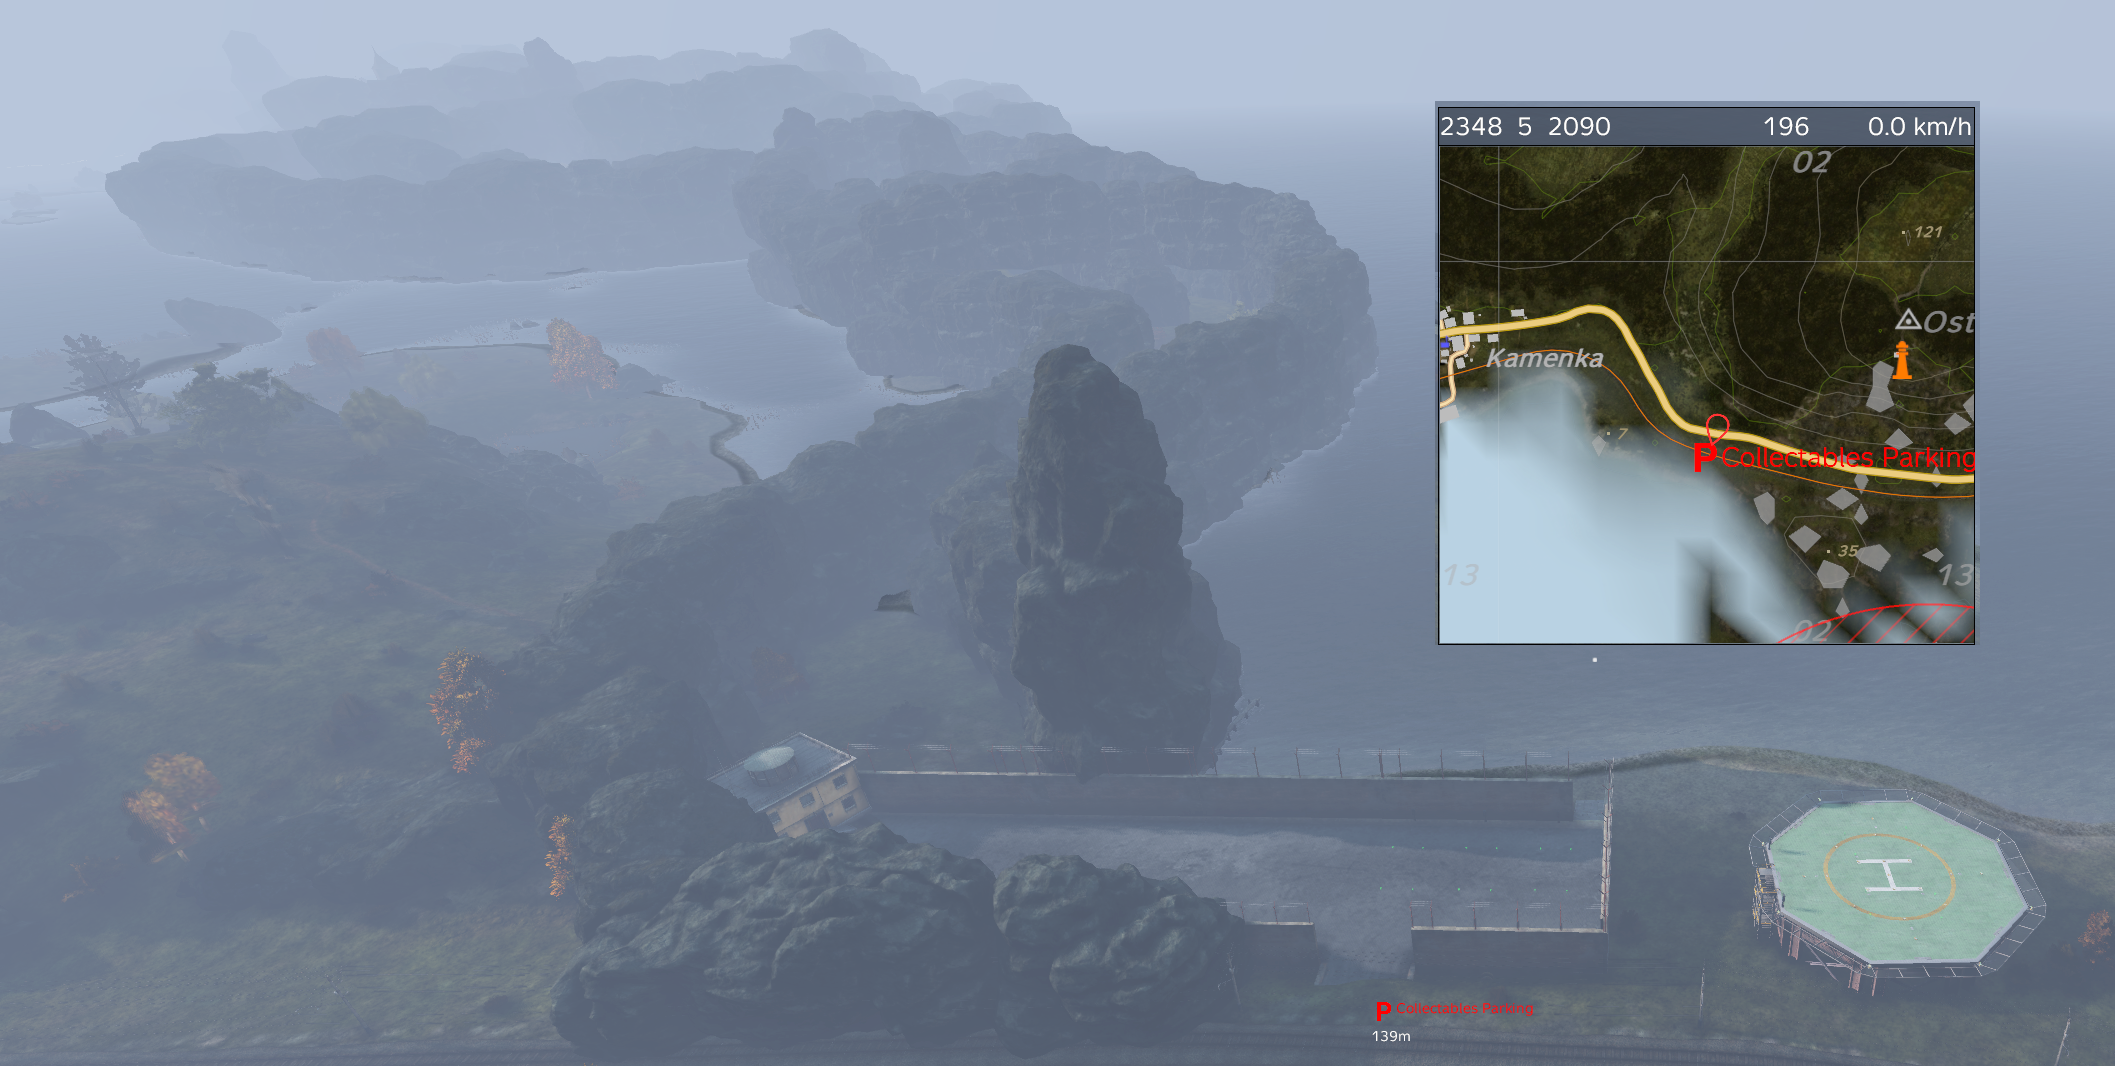
Collectables location screenshot
Tier 1

Collectables

Entry
Tier 1 collectables vendor.
Threat
Normal Zombies and AI is present.
Location note
Collectables vendor location. Use the screenshot and minimap marker for Collectables Parking.
  • No Fly Zone.
  • Expect AI around the vendor approach.
  • Collectables is Tier 1 progression.
  • Bring a vanilla weapon and multiple mags as suggested by the progression guide.
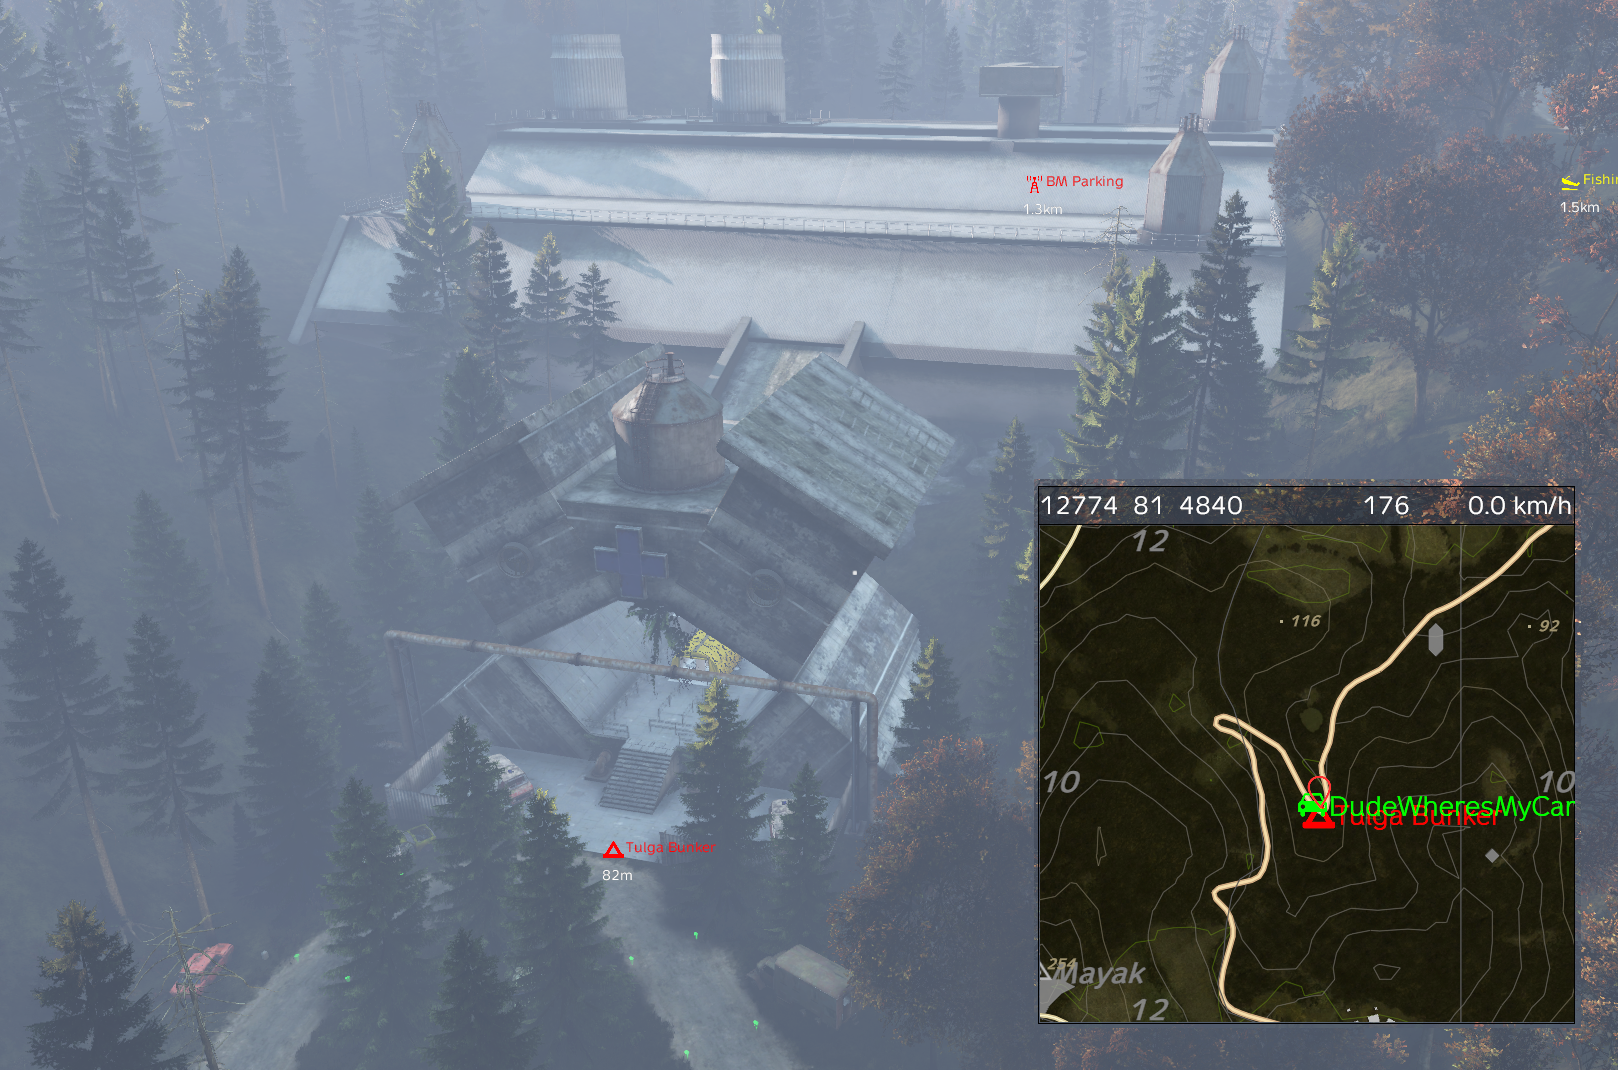
Tulga Bunker location screenshot
Tier 2

Tulga Bunker

Entry
NBC is not required. NVG is not required. Punched Card opens the bunker door. Two lootcrates are inside, and each one needs one Large Green Key.
Threat
Ink Mobs.
Location note
Tulga Bunker location. Use the screenshot and minimap marker to confirm the approach.
  • Bring a Punched Card for entry.
  • Bring one Large Green Key per lootcrate. Tulga has two lootcrates total.
  • Lootcrates can spawn in multiple locations inside the bunker.
  • NVGs are not required for the run.
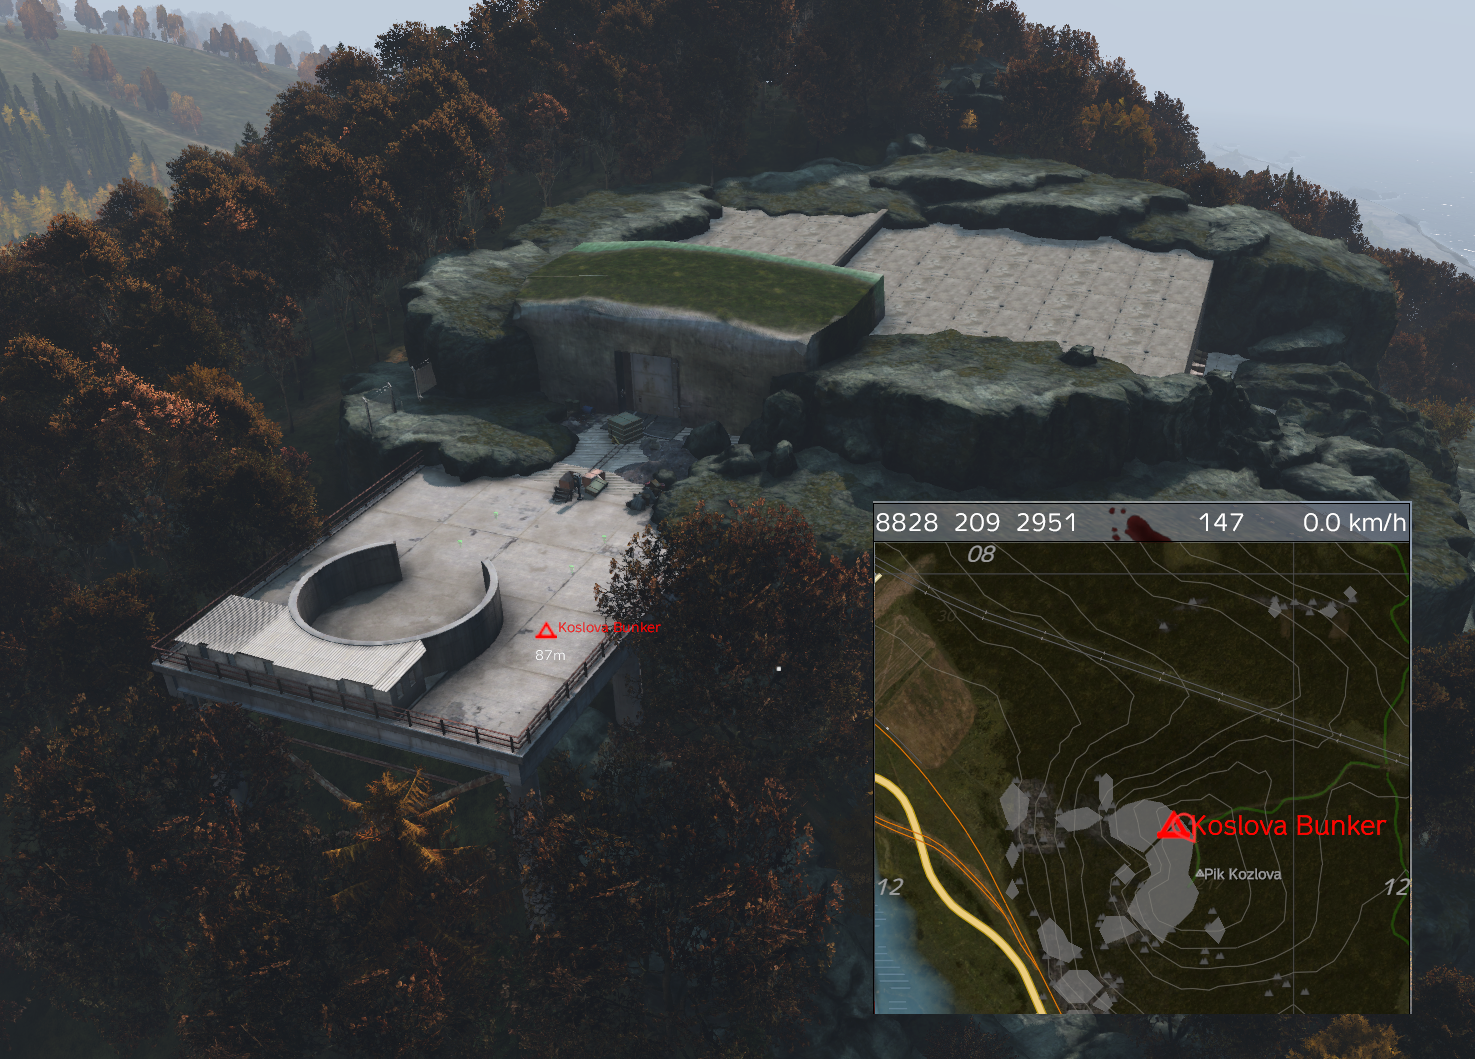
Koslova Bunker location screenshot
Tier 2

Koslova Bunker

Entry
NBC is not required. NVG is required. Punched Card opens the bunker door. Two lootcrates are inside, and each one needs one Large Blue Key.
Threat
Ink Mobs.
Location note
Koslova Bunker location. Use the screenshot and minimap marker to confirm the approach.
  • Bring a Punched Card for entry.
  • Bring one Large Blue Key per lootcrate. Koslova has two lootcrates total.
  • Lootcrates can spawn in multiple locations inside the bunker.
  • NVGs are required for the run.
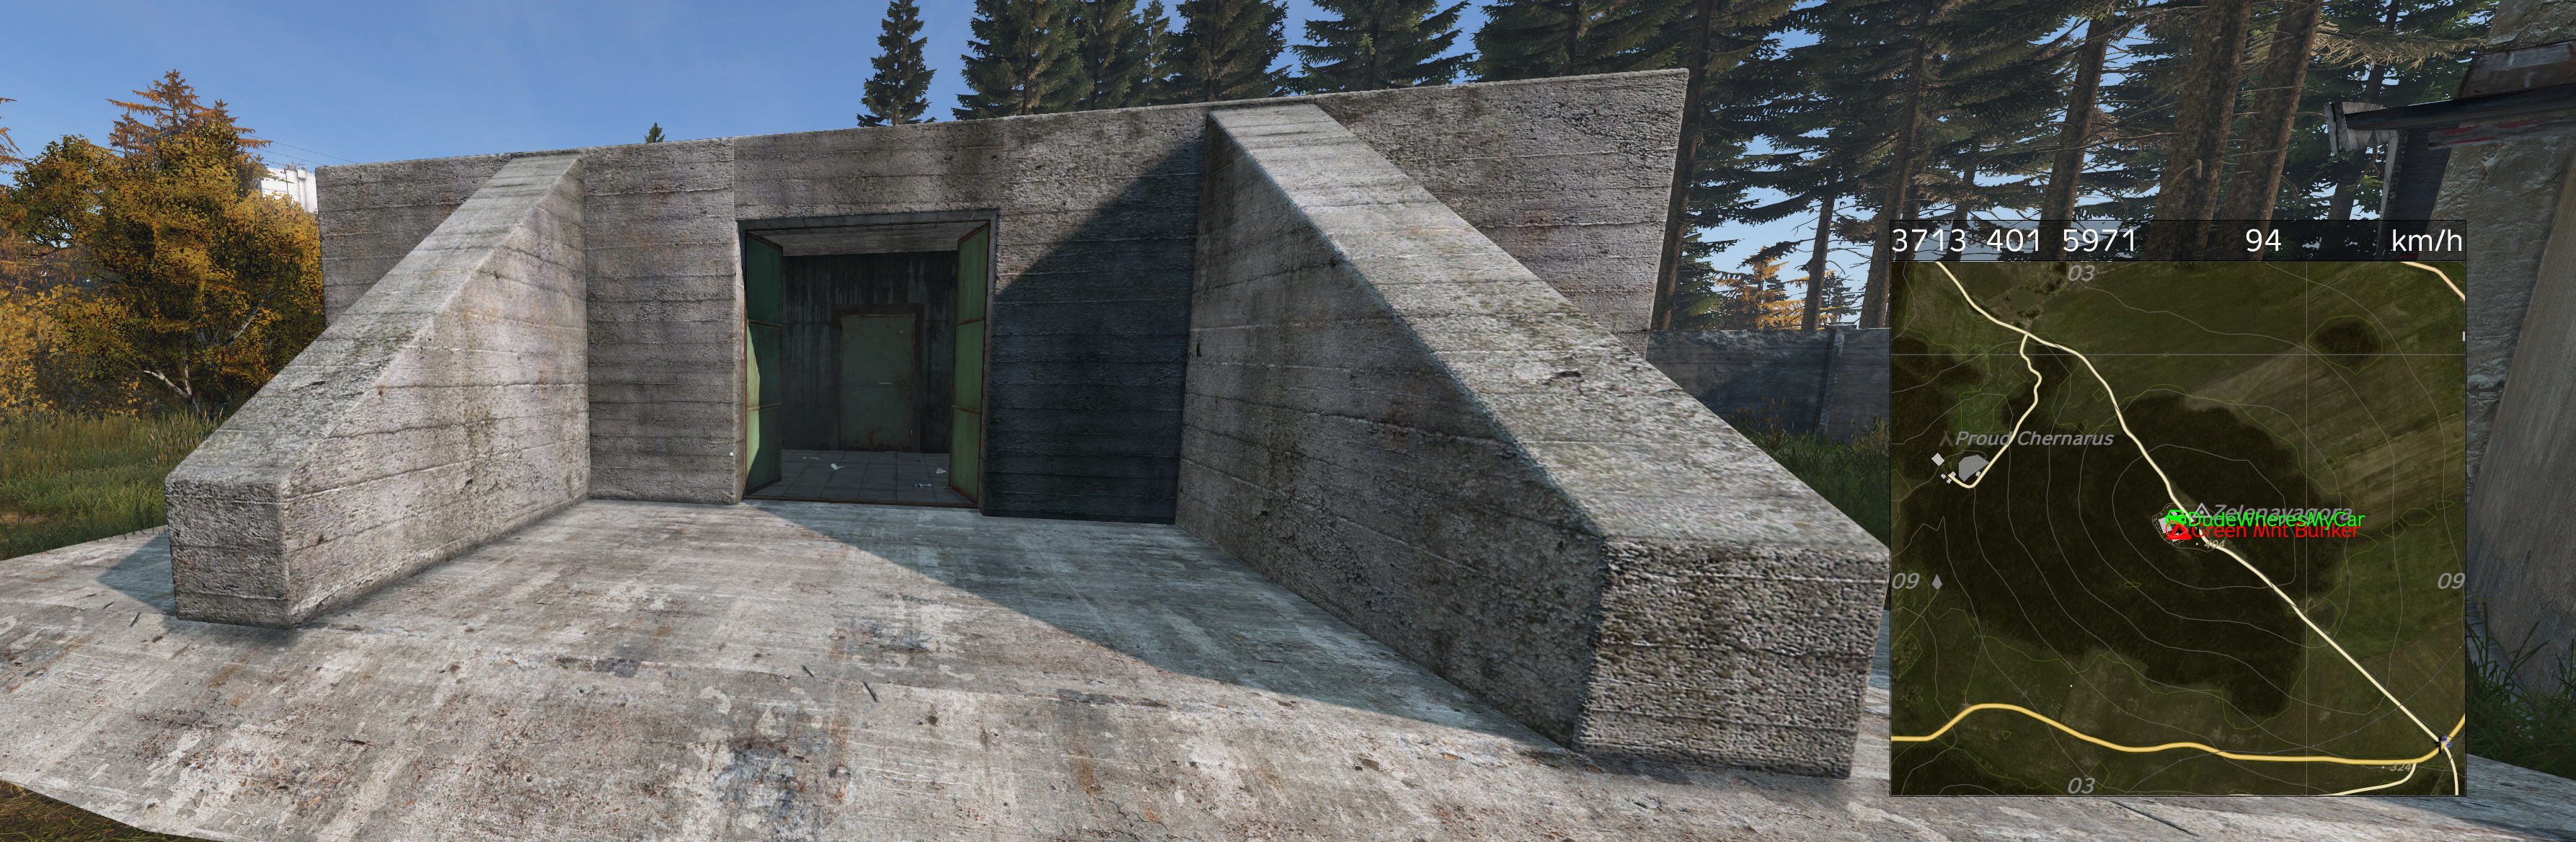
Green Mountain Bunker location screenshot
Tier 3

Green Mountain Bunker

Entry
NVGs and Large Black Key required to open the Green Mountain bunker door.
Threat
Ink Mobs.
Location note
Green Mountain location.
  • Max participation is capped at 6 players per bunker run.
  • Front door stays unlocked for 60 seconds so all 6 players can get inside.
  • 2 lootcrates are inside and they are unlocked.
  • Lootcrates can spawn in multiple random locations inside the bunker.
  • There are 2 exit doors. Do not click either exit door until everyone is ready to leave.
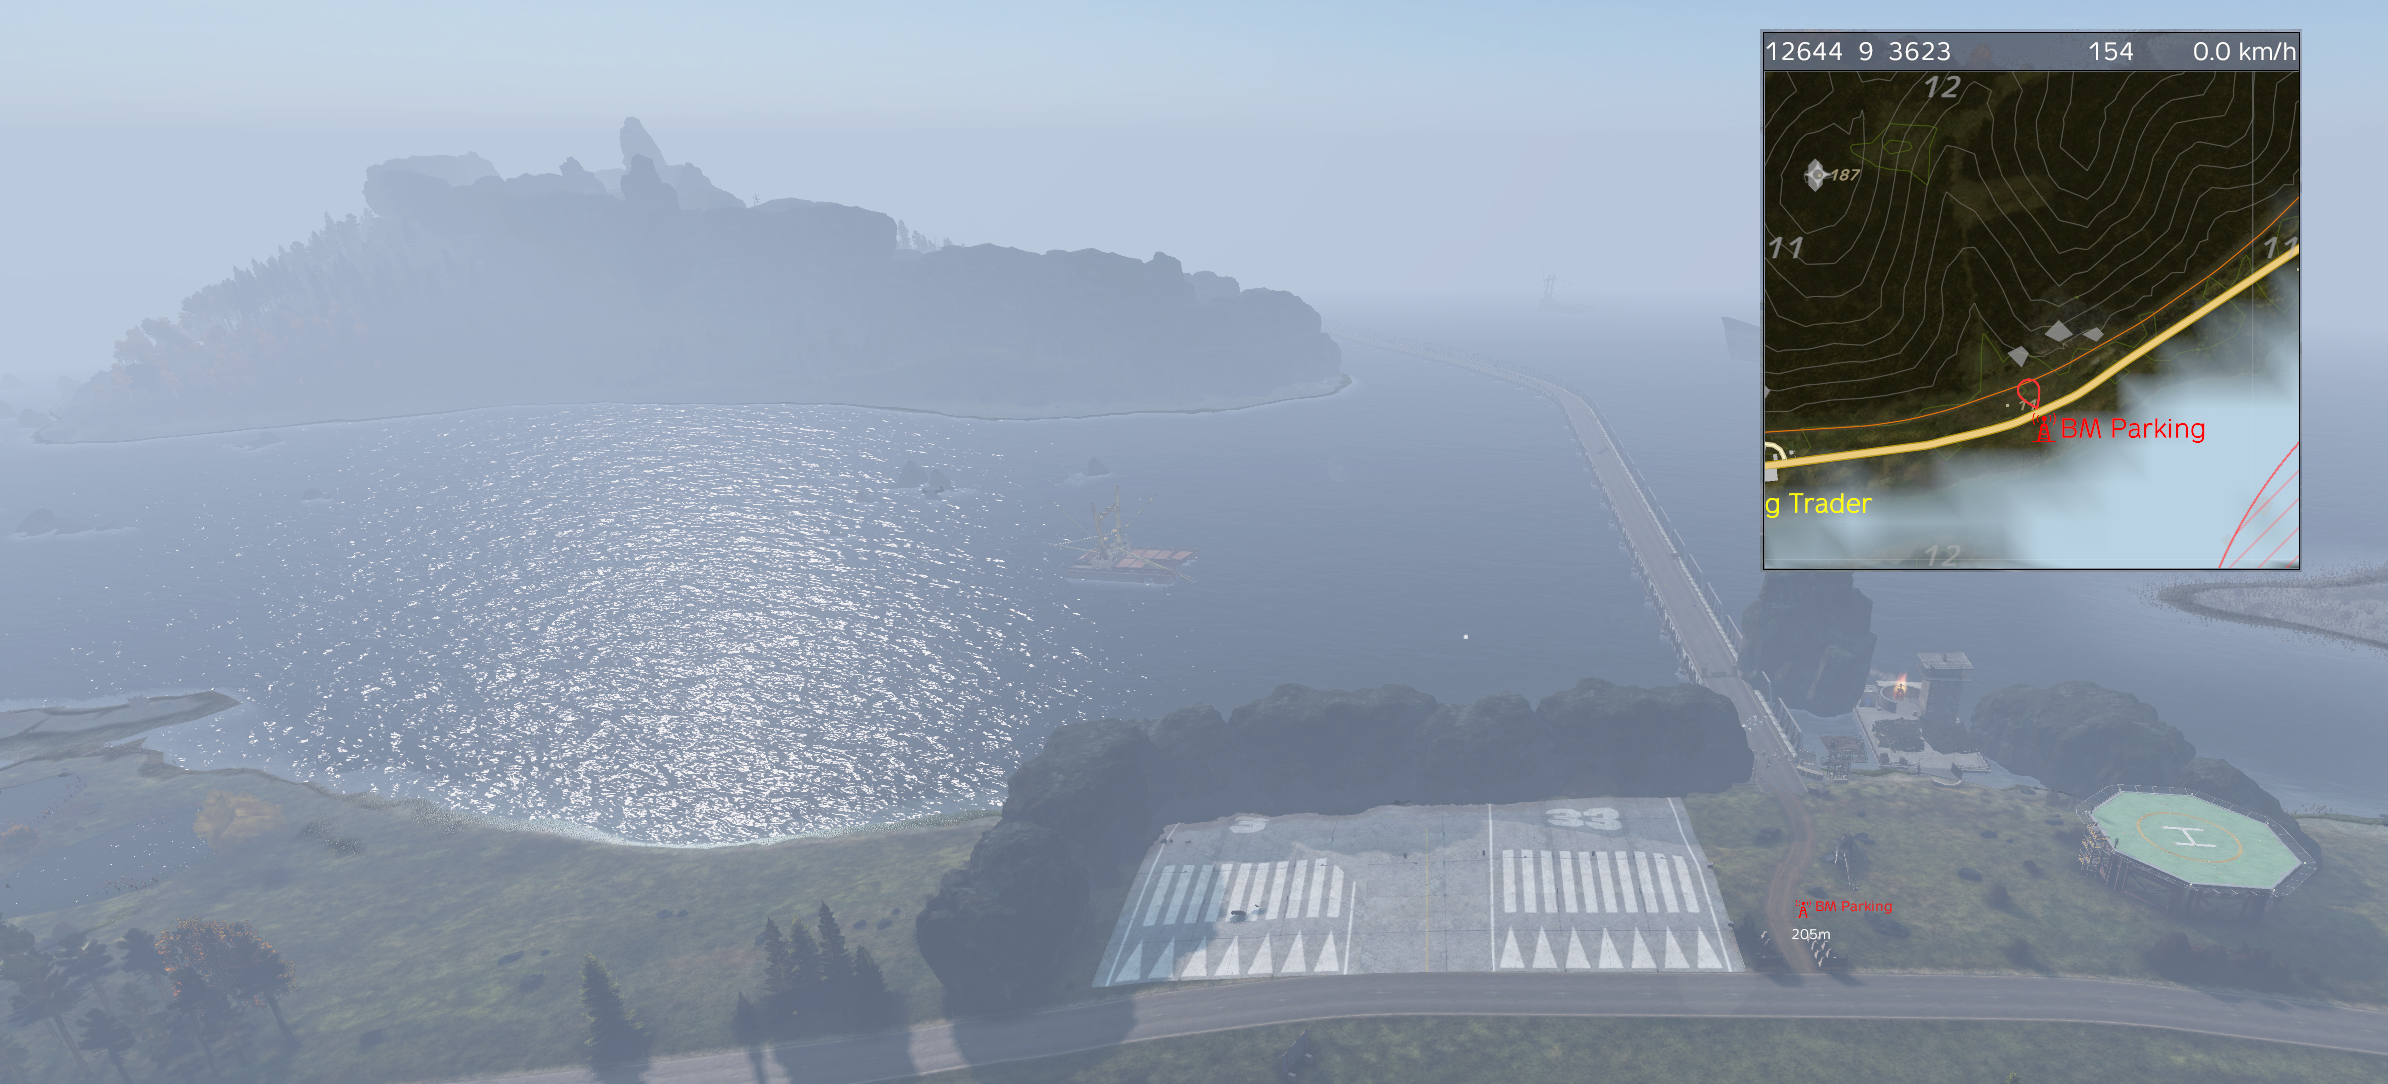
Black Market location screenshot
Tier 3

Black Market

Entry
NBC is required.
Threat
Ink Mobs, AI and automated turrets are present.
Location note
Black Market vendor location. Use the screenshot and minimap marker to find the area.
  • No Fly Zone.
  • Expect AI contact around the vendor area.
  • Automated turrets are active, so approach carefully.
  • Black Market is Tier 3 progression.
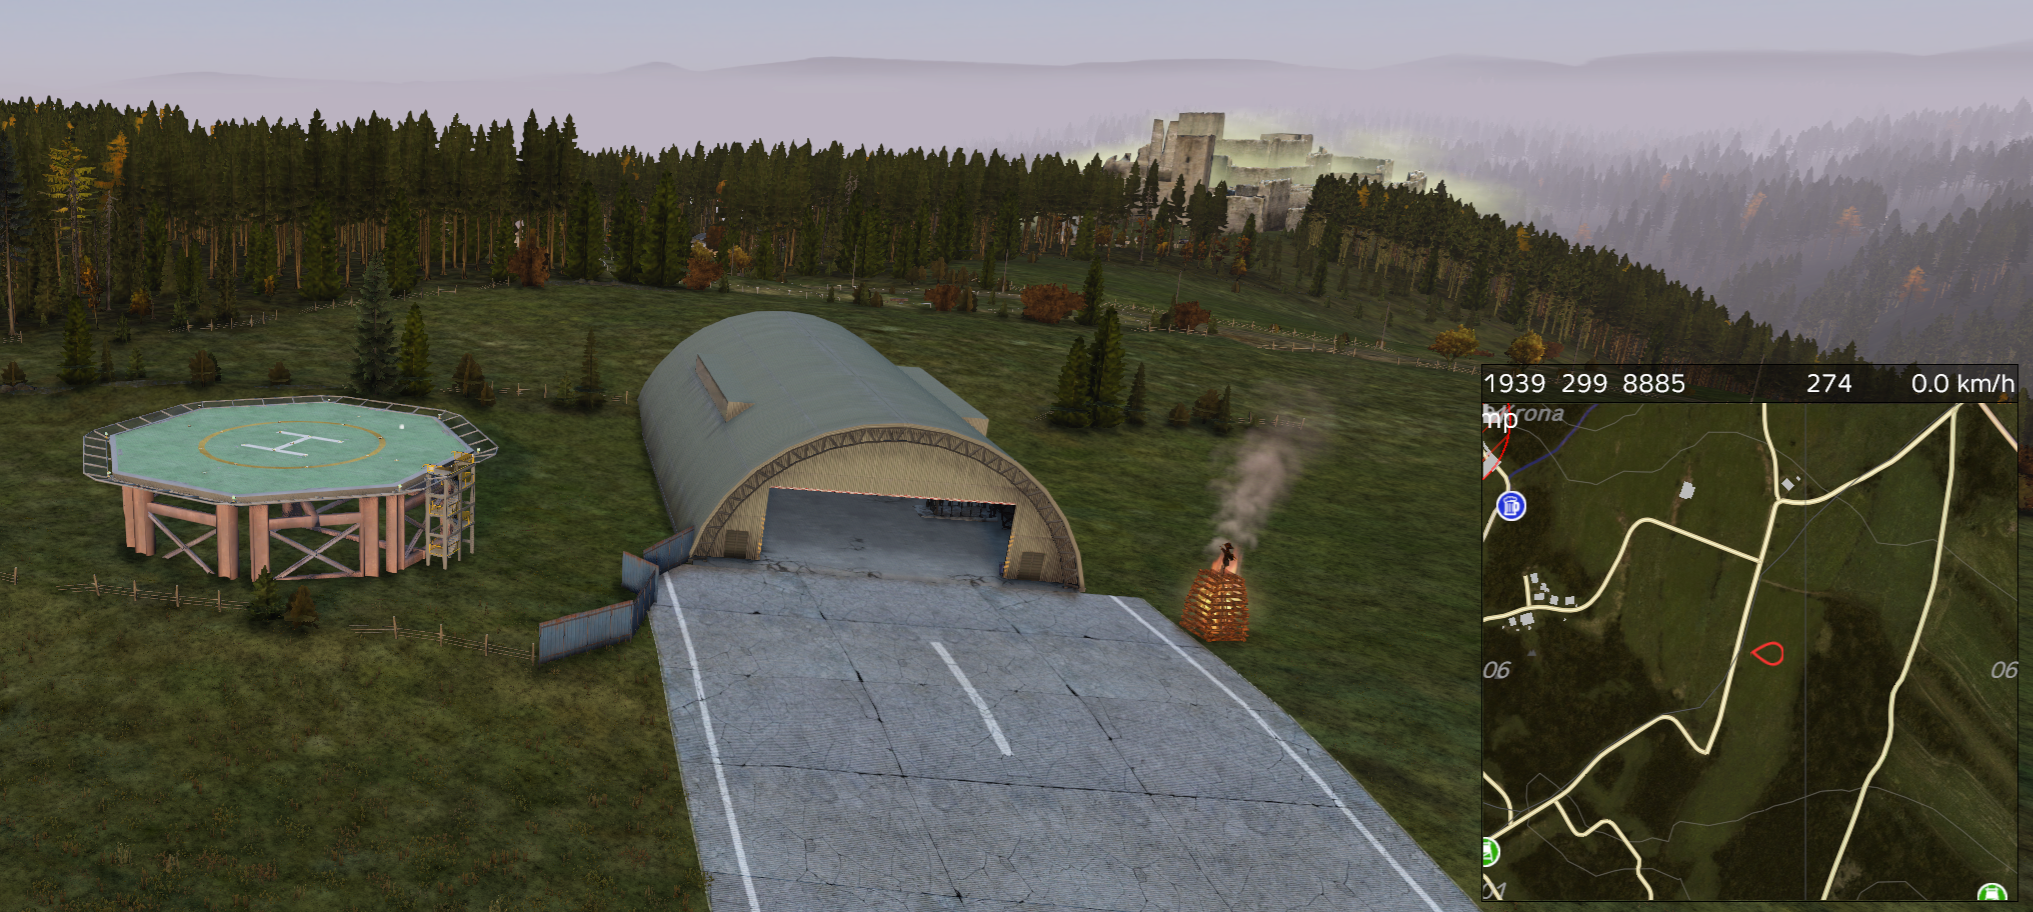
Krona Castle location screenshot
Tier 5

Krona Castle

Entry
NBC required. NVG is not required. Punched Card activates the teleport, Large White Key opens the stash barrel, and upgraded BallerZ or INK weapons are suggested.
Threat
Ink Mobs, AI and automated turrets are present.
Location note
Krona Castle location. Use the screenshot and minimap marker to confirm the castle approach.
  • No Fly Zone.
  • Bring a Punched Card to activate the teleport.
  • Bring a Large White Key for the stash barrel.
  • Stash barrel can spawn in multiple locations and resets every 30 minutes.
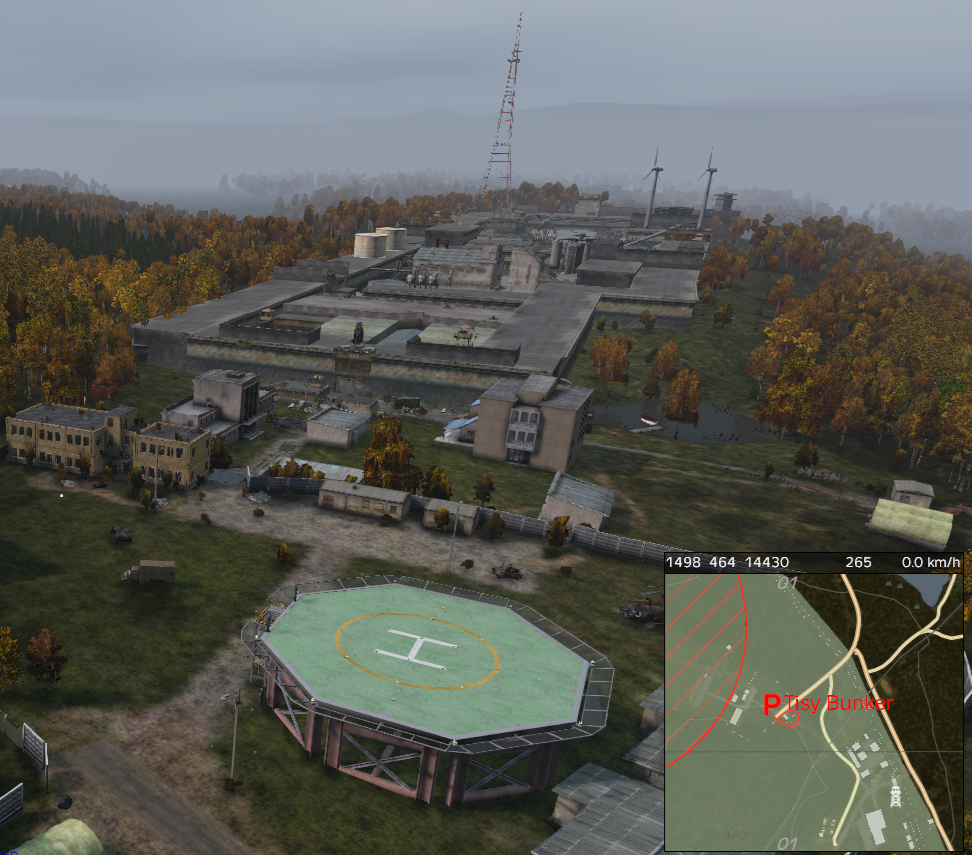
Tisy Bunker location screenshot
Tier 4 / Tier 6

Tisy Bunker

Entry
Front is Tier 4 and Back is Tier 6. Punched Card opens the front door. Upgraded BallerZ or INK weapons are suggested for Tisy Front.
Threat
Ink Mobs.
Location note
Tisy Bunker location. Use the screenshot and minimap marker to confirm the bunker approach.
  • No Fly Zone.
  • Front section: Punched Card opens the front door. NBC is required for the Large Crate, which requires a Large Violet Key.
  • Back section: NBC, NVG, and one Orange DNA Keycard required per group. Small Crate requires a Large Yellow Key.