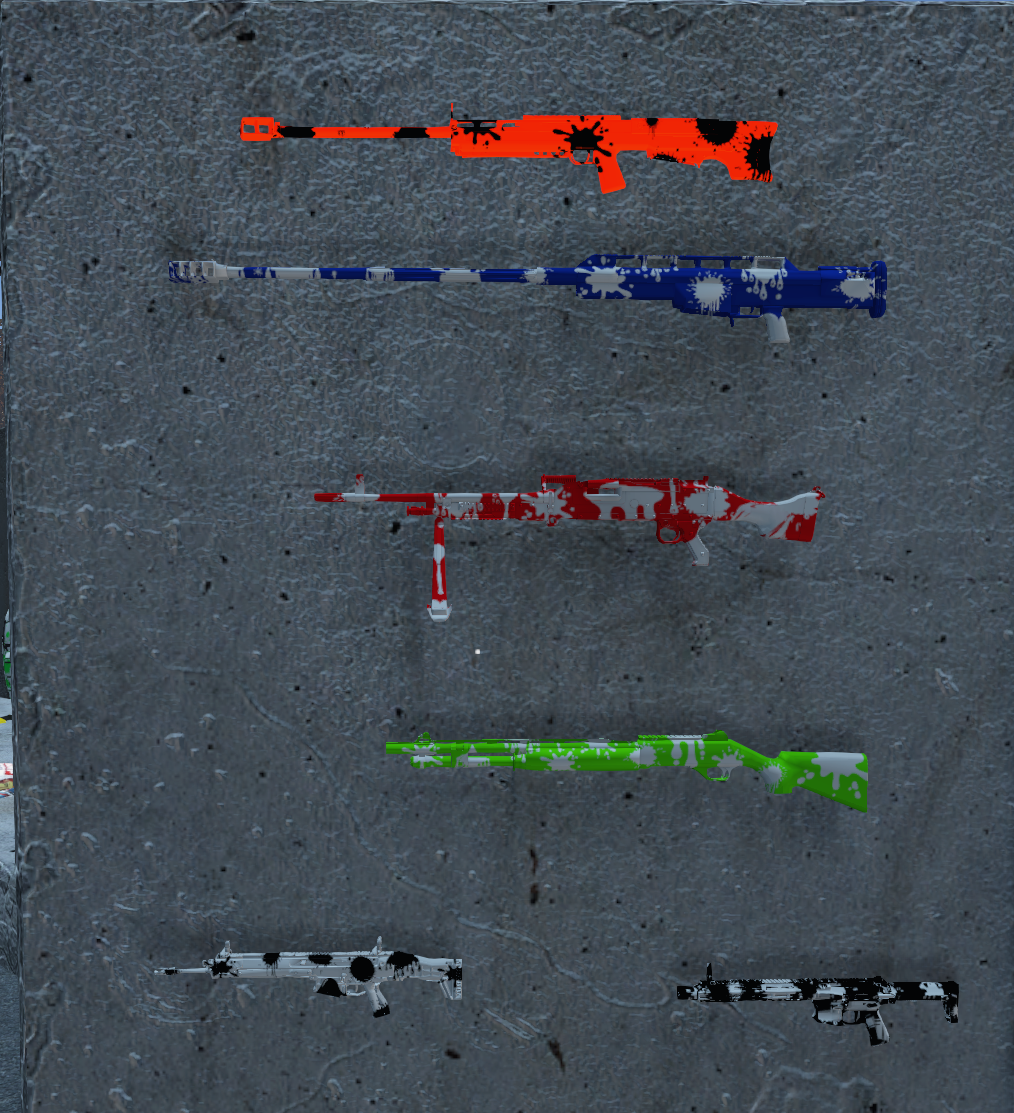
Weapon Names
- Honey Badger
- Widow Maker
- Scar-H
- Shredder
- Alligator
- Liquidator V1 and V2
- 12G Shotgun
- Lobotomy V1 Pump Action and V2 Semi Auto
- PKP
- Pacifier
- 50 Cal
- Annihilator

Custom mods
Quick references for weapons, keycards, bunker keys, crafting, collectables, and other server systems.
Upgraded BallerZ and INK weapons become required for late bunkers, castle runs, and high-tier flares.
Chernarus DNA safestores use Yellow, Green, Blue, Purple, and Red keycards with color-specific active counts.
Large Black, Blue, Green, Violet, White, and Yellow keys move players through bunker and castle progression.
Exchange Ink Coins and completed collection boxes for server rewards through the Oasis exchange machine.
Use teleport stands at Oasis and Ink Yard, plus exit teleports from Krona, Black Market, and Collectables.
Buy, store, insure, and recover vehicles through Virtual Garage pedestals found around the map or purchased from main traders.
Player-to-player market access is available at the main trading hubs.
Use printer kits, power, USB recipes, and filament colors to craft InkCoins, ammo, gear unlocks, and Ink_Lockpick.
Decode bomb cyphers or pick fast food stand locks before the timer and attempt penalties catch you.
Remove the suicide vest with the right tool. Screwdriver is lowest chance, pliers are better, and Electronics Repair Kit is highest chance.
EMP discharges can destroy nearby electronics, damage gear at longer range, and the head can be harvested with a sharp weapon.
Patrol helicopters fly server areas by difficulty and drop loot crates when shot down.
Moving convoy events must be stopped by damaging the vehicle before the AI crew and cargo can be fought for.
Purchasable cabin kits with openable windows, codelock support, lighting, fireplace, and standard or admin kit options.
Portable house kits available as part of Ink Gaming basebuilding.
Workbench crafting reference for small sheets, crates, ammo boxes, decor, utilities, and base storage items.
BBP workbench, ladder kit, structure tiers, gates, hatches, windows, and well requirements.
Fill and seal a Pokemon storage box, exchange it at Oasis, and choose one Pokemon-skinned Ghost Gear reward set.
Ink Arsenal
Custom Ink guns are late-game chase weapons. They are meant for bunker progression, castle runs, high-tier flares, and other fights where upgraded BallerZ or INK weapons are expected.
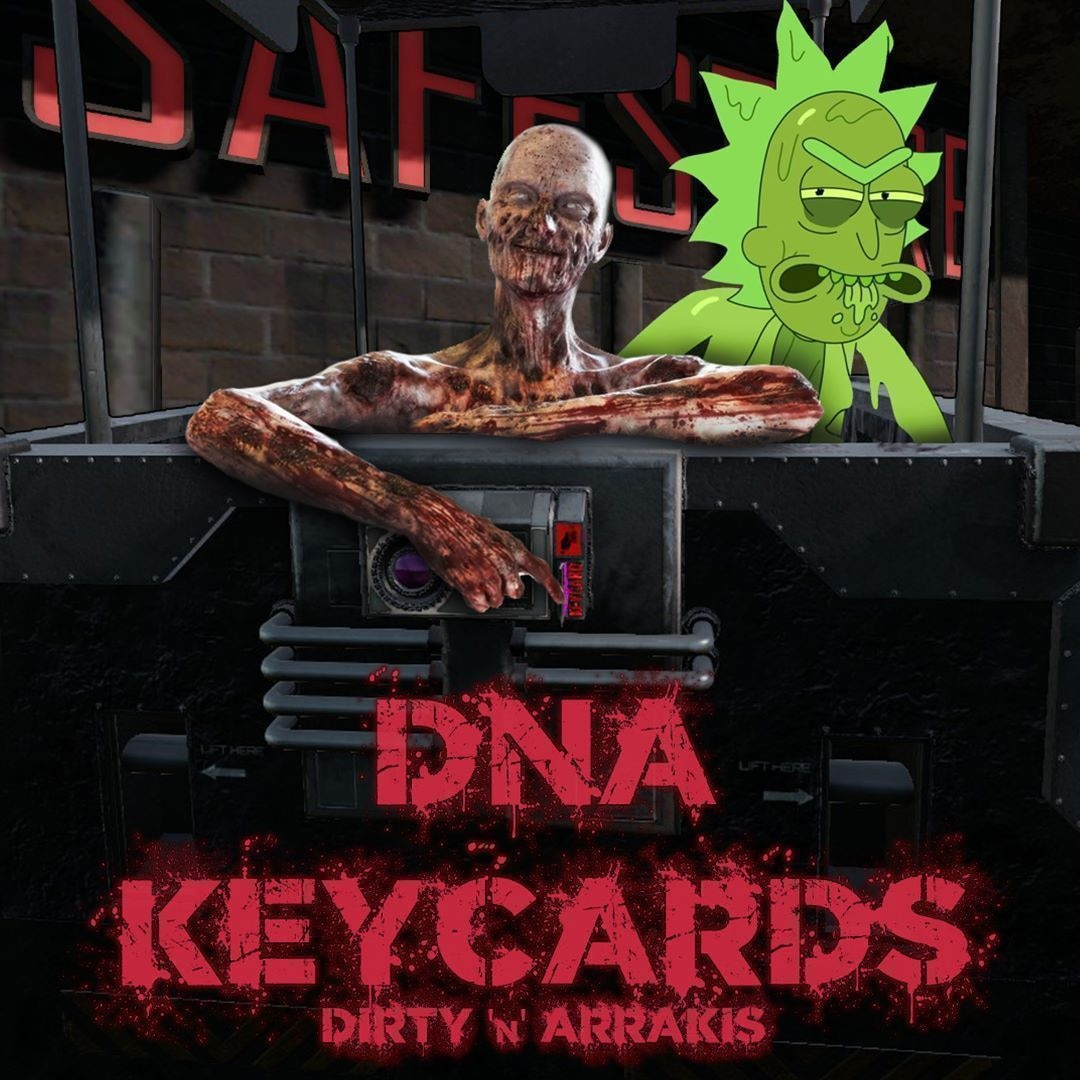
DNA Keycards
Ink Gaming keycard progression moves through each color tier in order. Activated keycards are single use, so plan the bench work before burning a card.
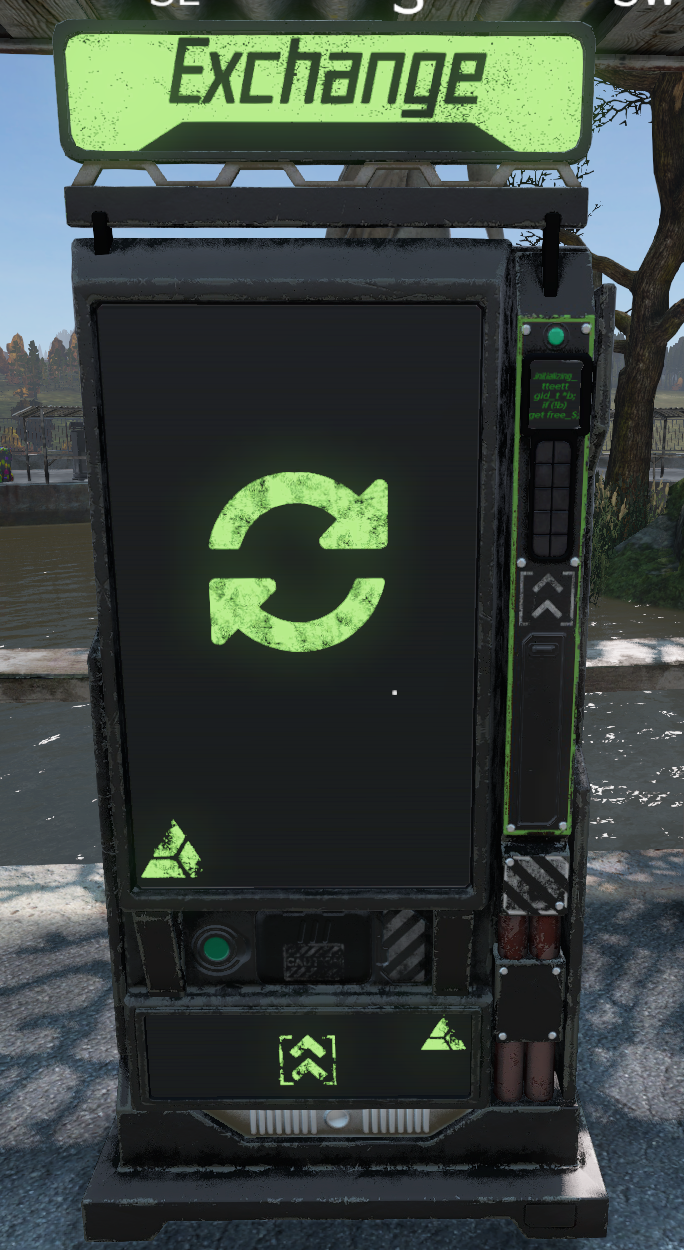
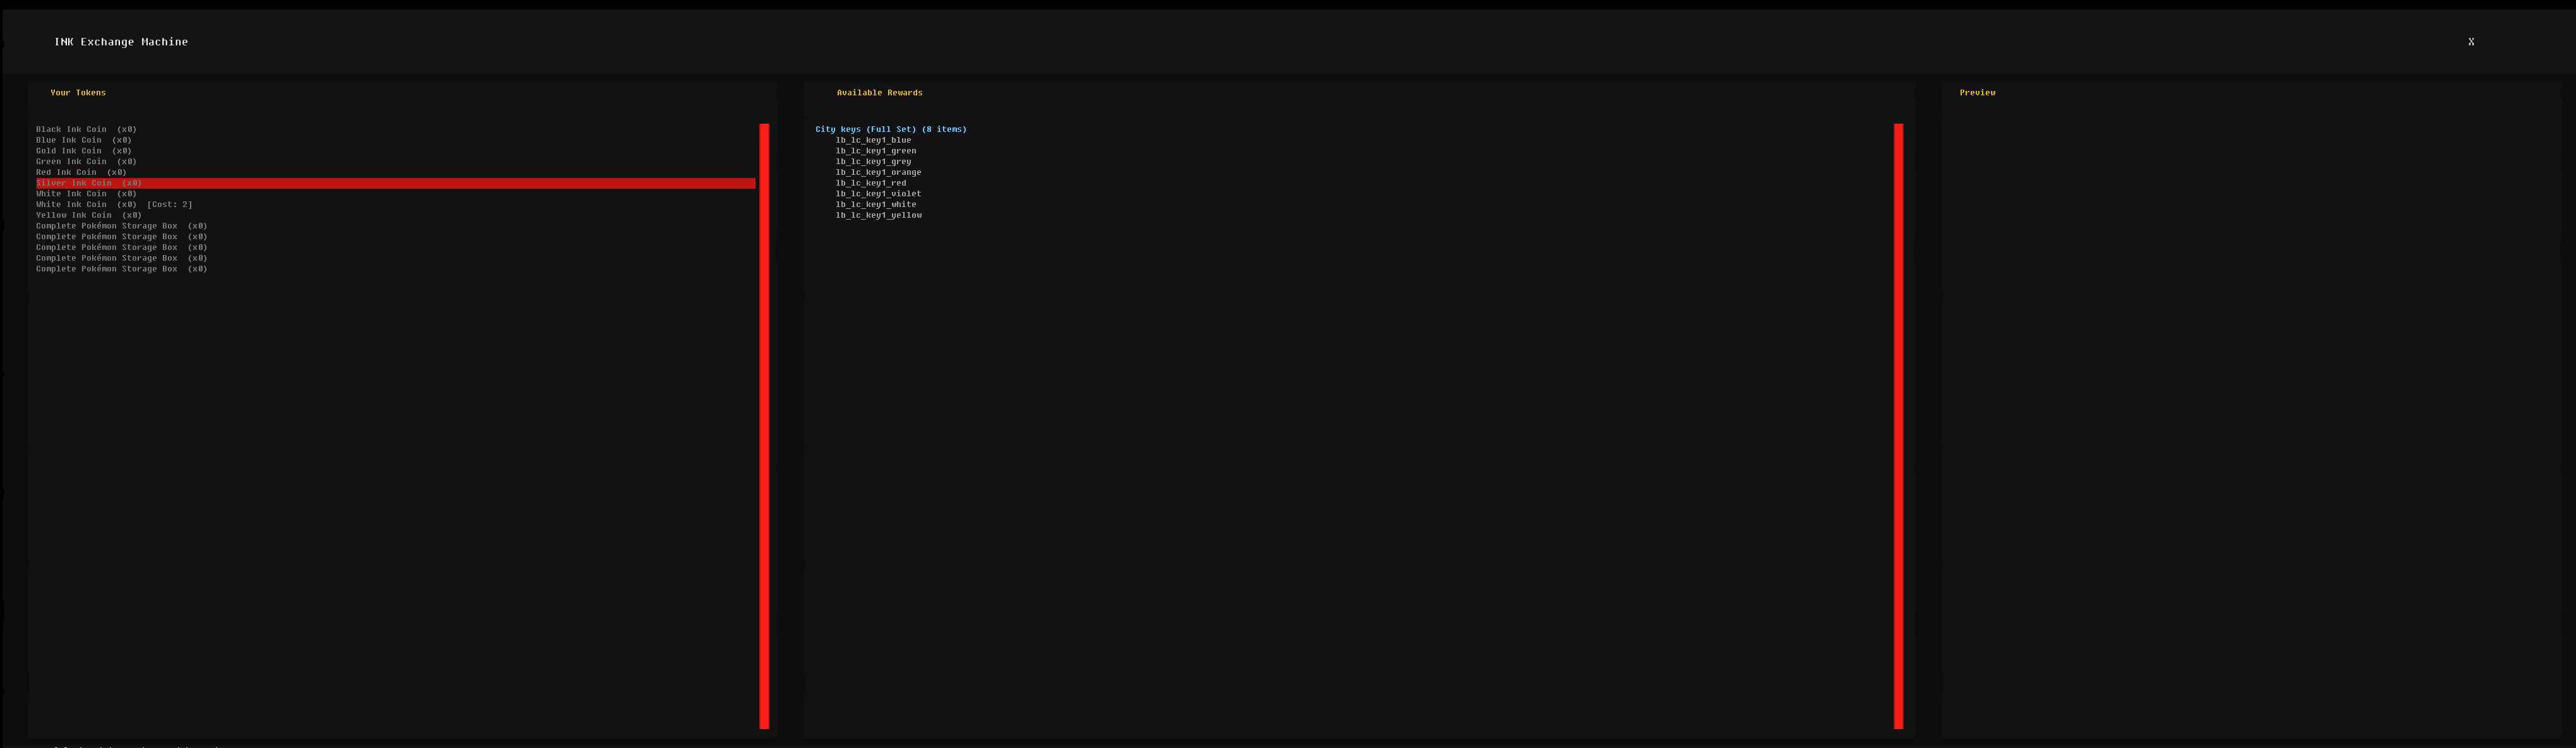
Ink Exchange
The Ink Exchange machine is the reward hub for Ink Coins and completed collection boxes. Use it when you are ready to turn earned tokens into keys, cosmetics, bags, collection rewards, or other server unlocks.
Ink Teleport
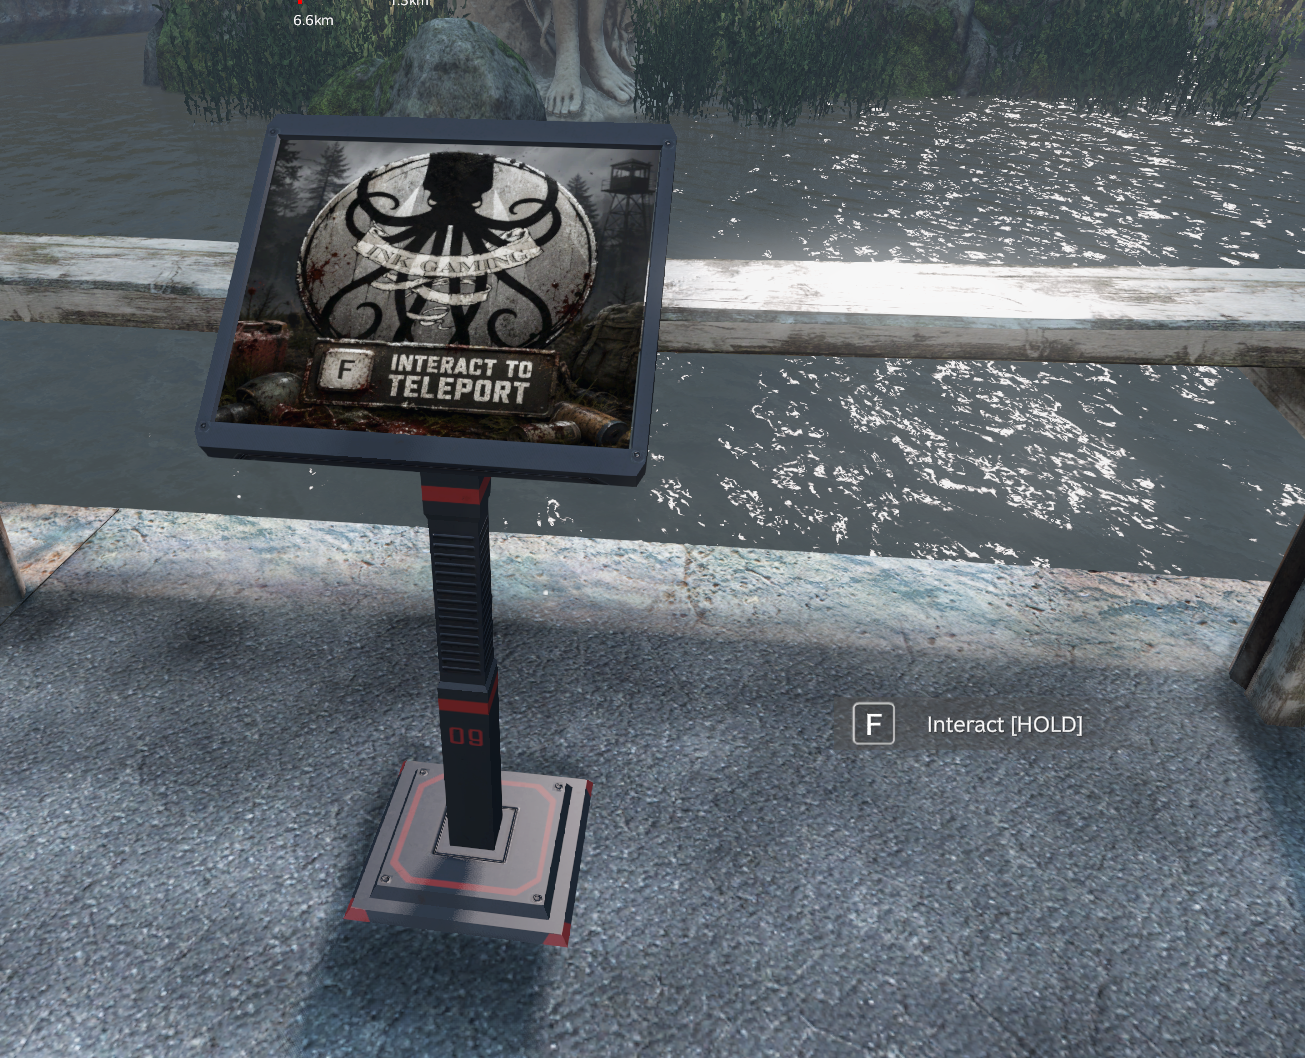
Ink Teleport stands connect key hub and progression areas so groups can move from trader hub to trader hub, start bunker runs safely, and return to the parking lots at the end.
Ink Garages
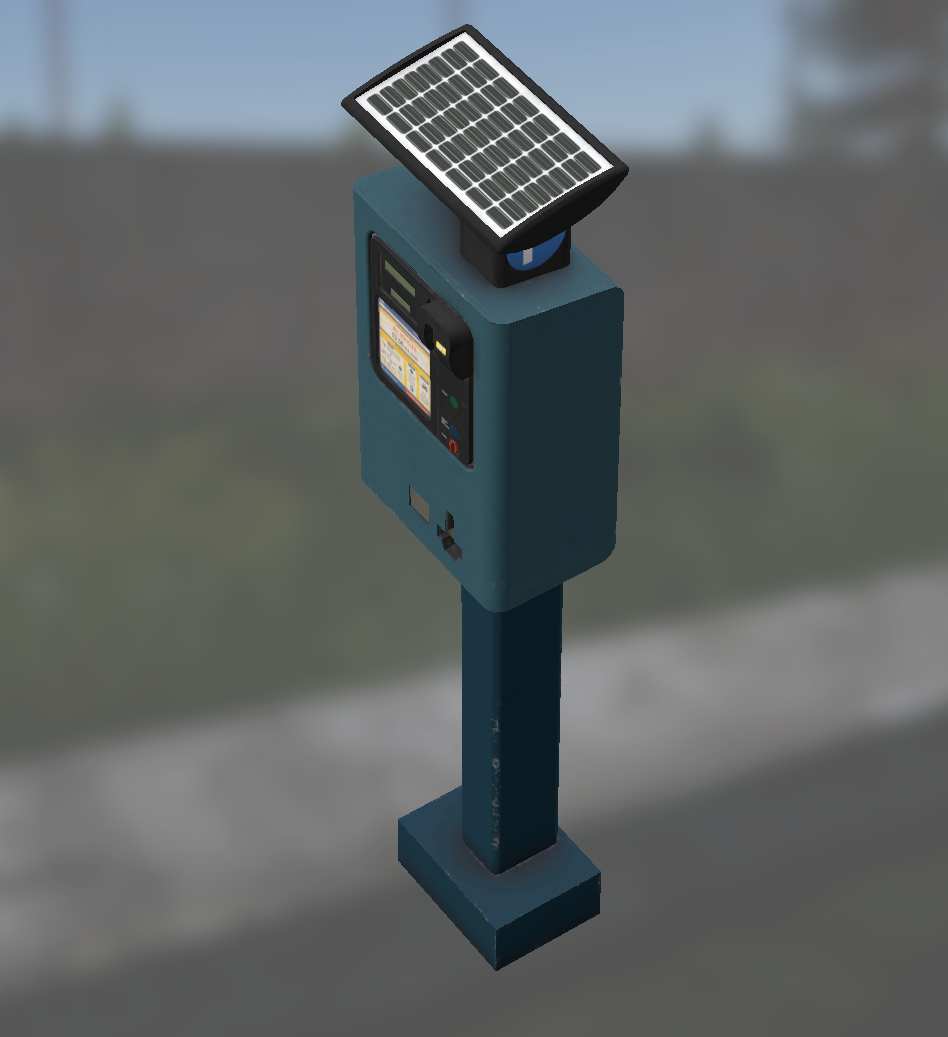
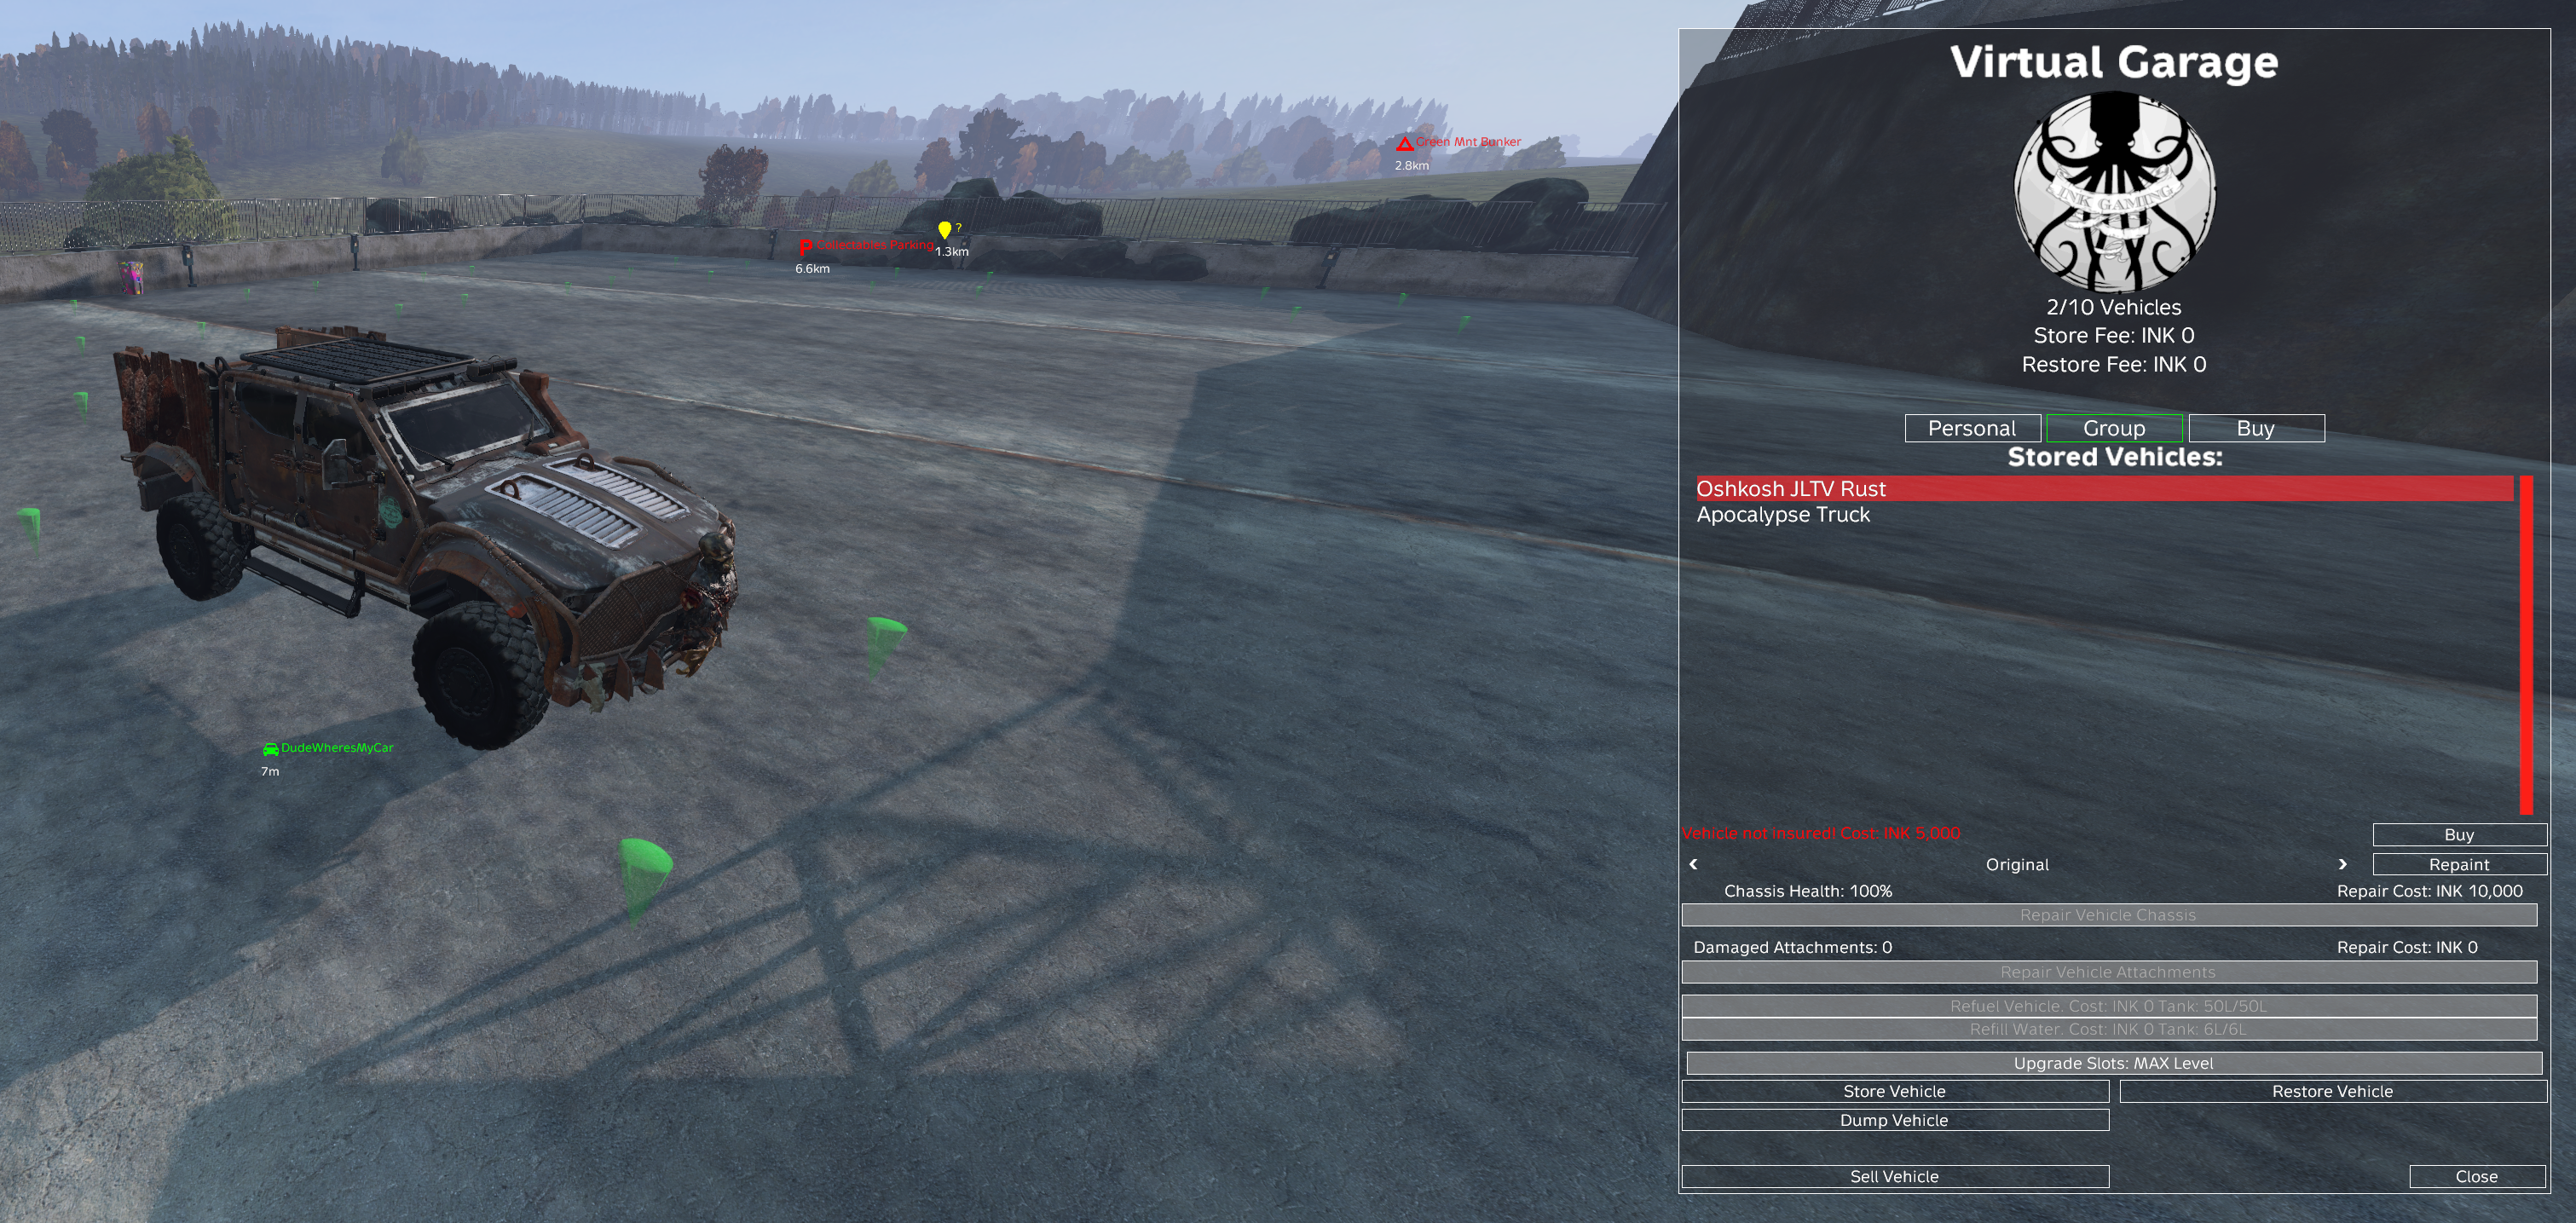
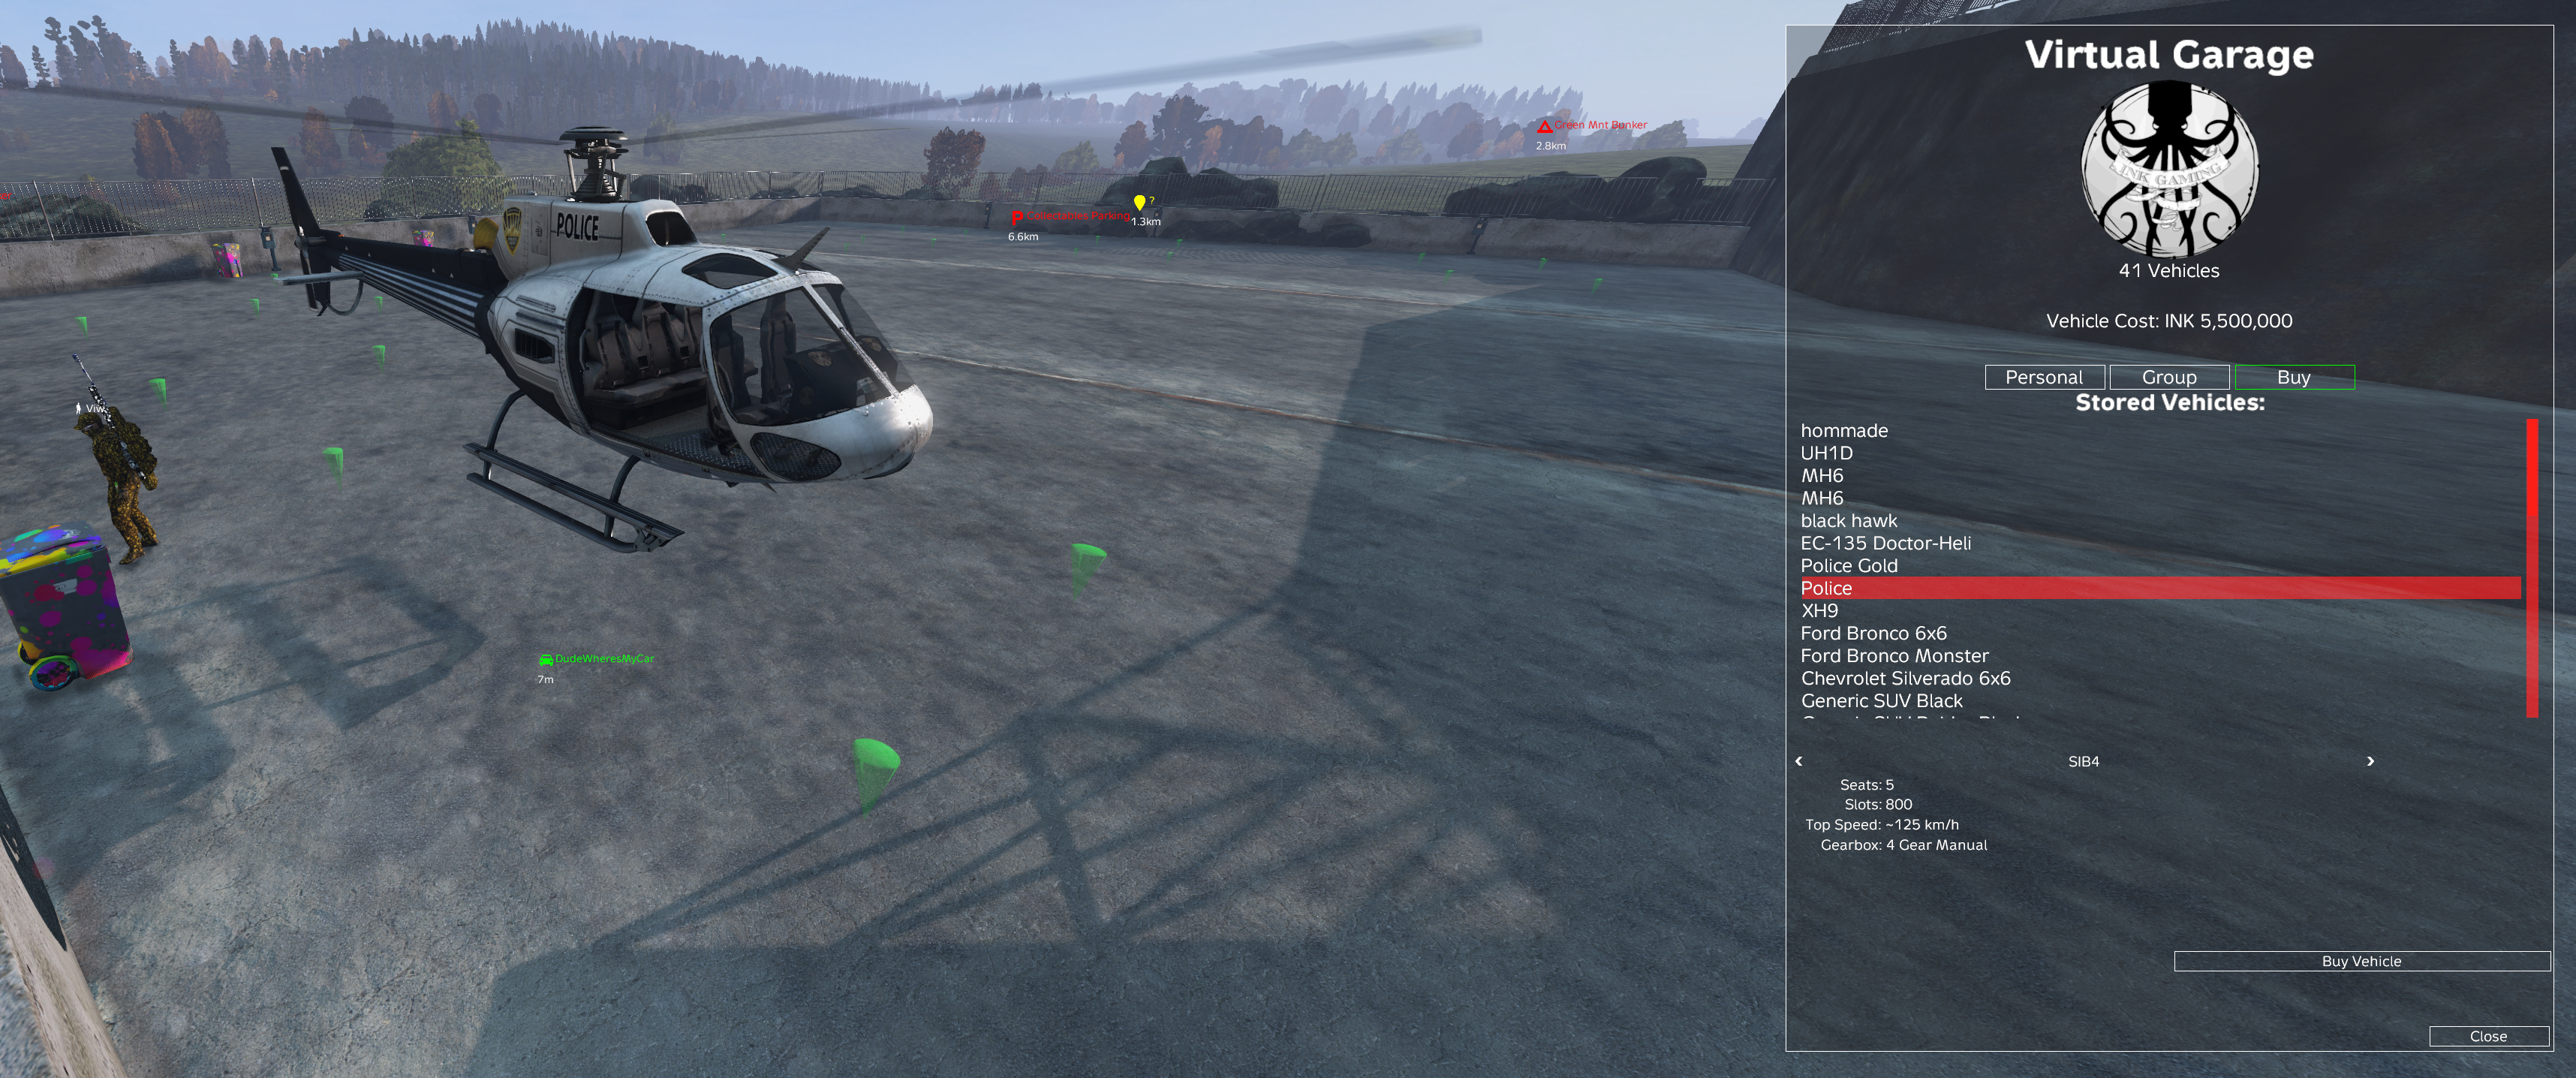
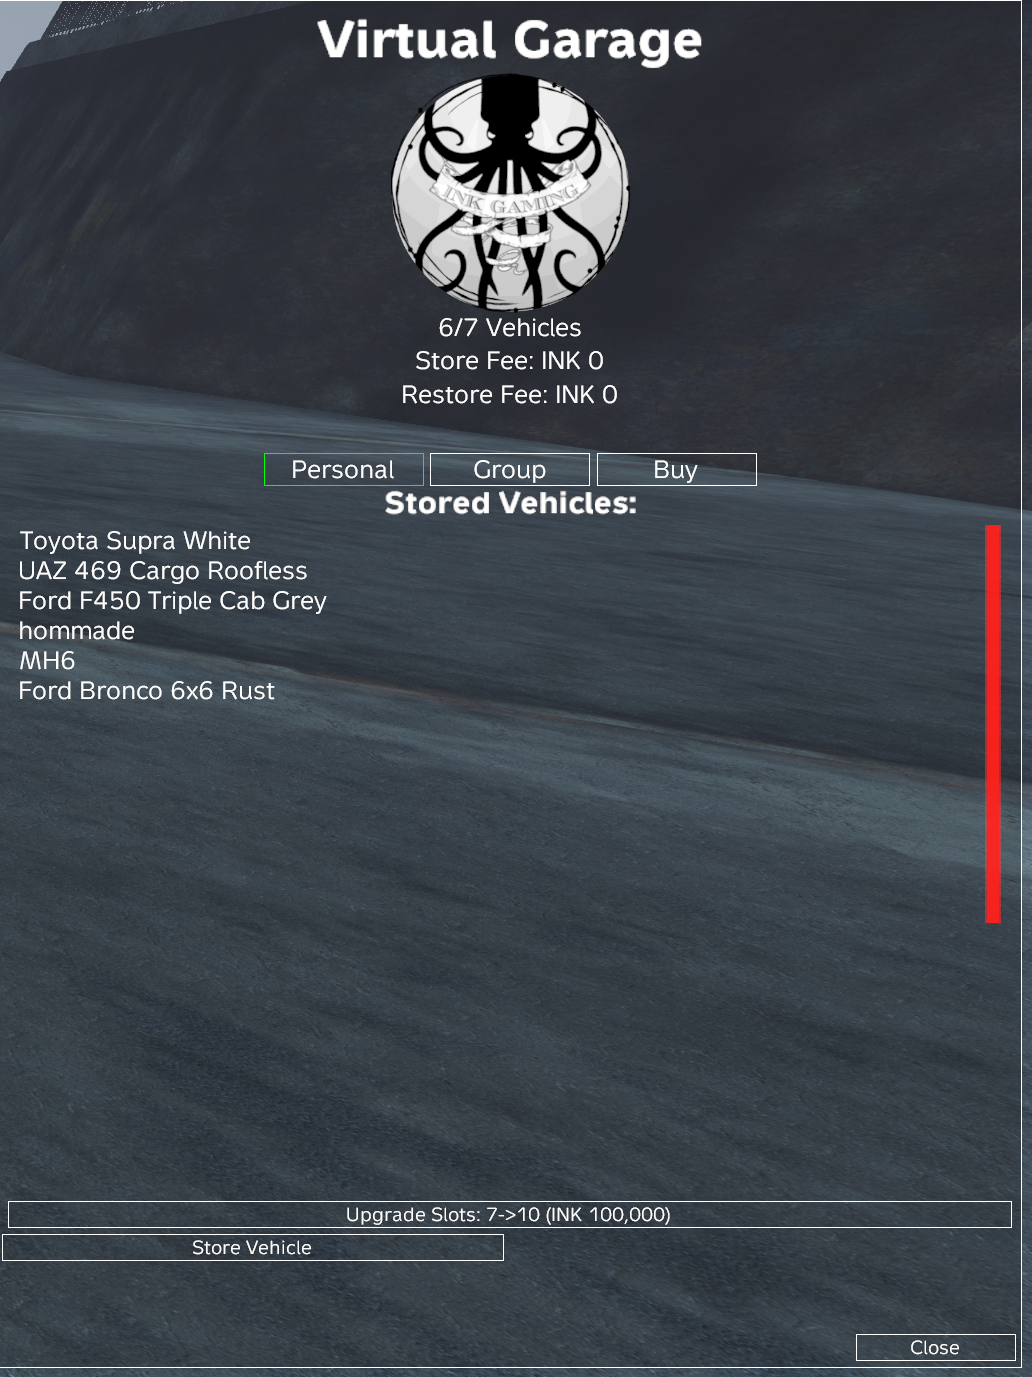
Ink Garages use Virtual Garage pedestals found around the map. Players can also buy pedestals from both main traders and place them back at their own bases.
P2P Trader
The P2P Trader gives players a safer hub-based way to use the player market instead of arranging loose item drops out in the world.
Collection Challenge
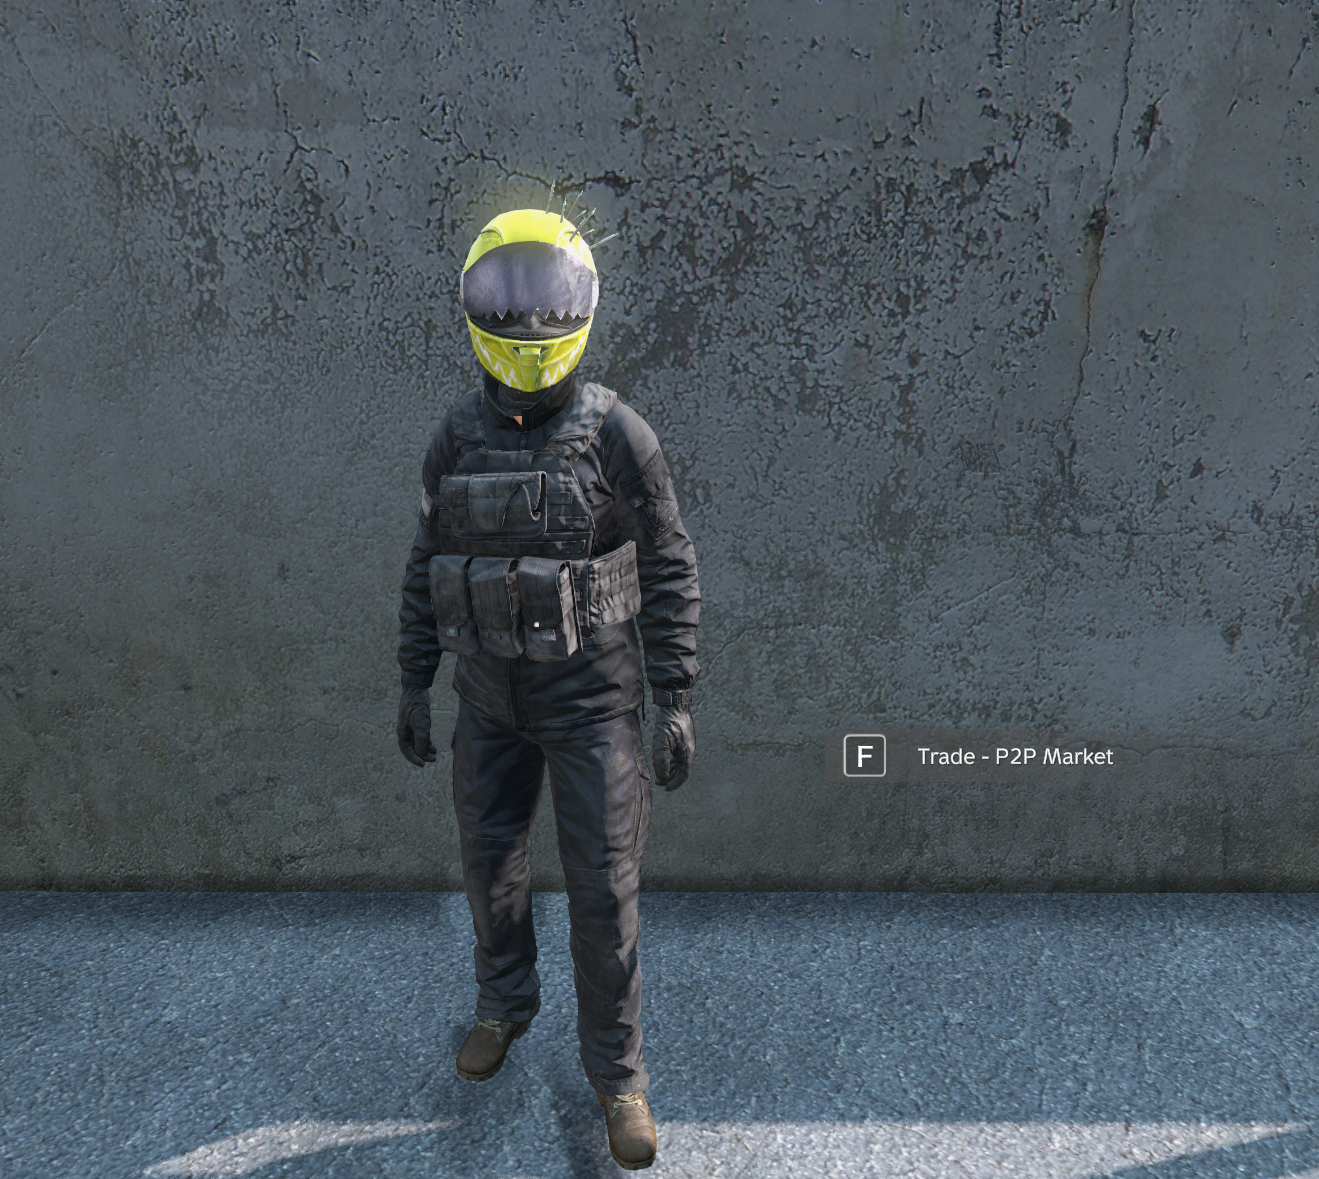
Fill a Pokemon storage box with every card, seal it, and exchange it at Oasis for one Pokemon-skinned Ghost Gear set plus the included extras and weapon reward.
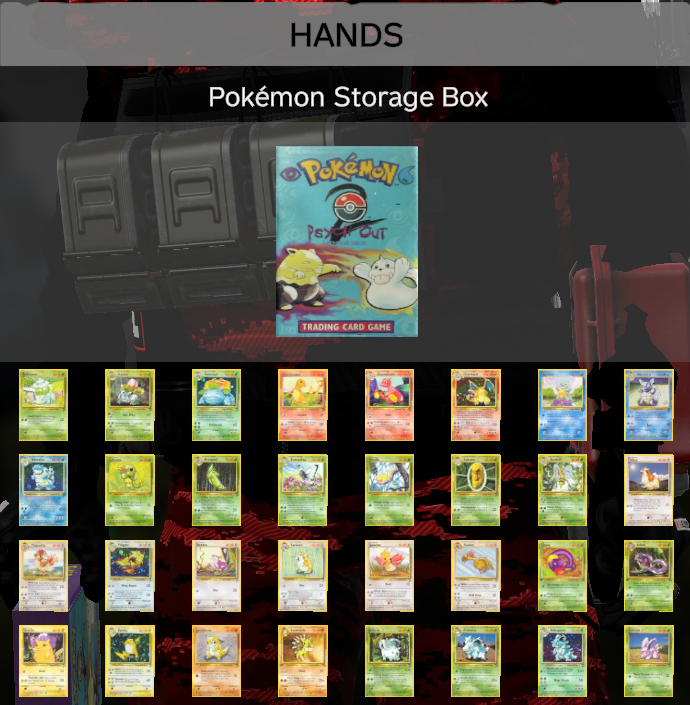
Pokemon-skinned gas gear reward set.
Pokemon-skinned regular gear reward set.
All Ghost Gear reward items are Pokemon skinned. No exchanges or substitutions.
Azrael's Stash
Azrael's Stash appears in blue framed stands. Some are bomb cyphers, while others use lockpicking and tool durability.

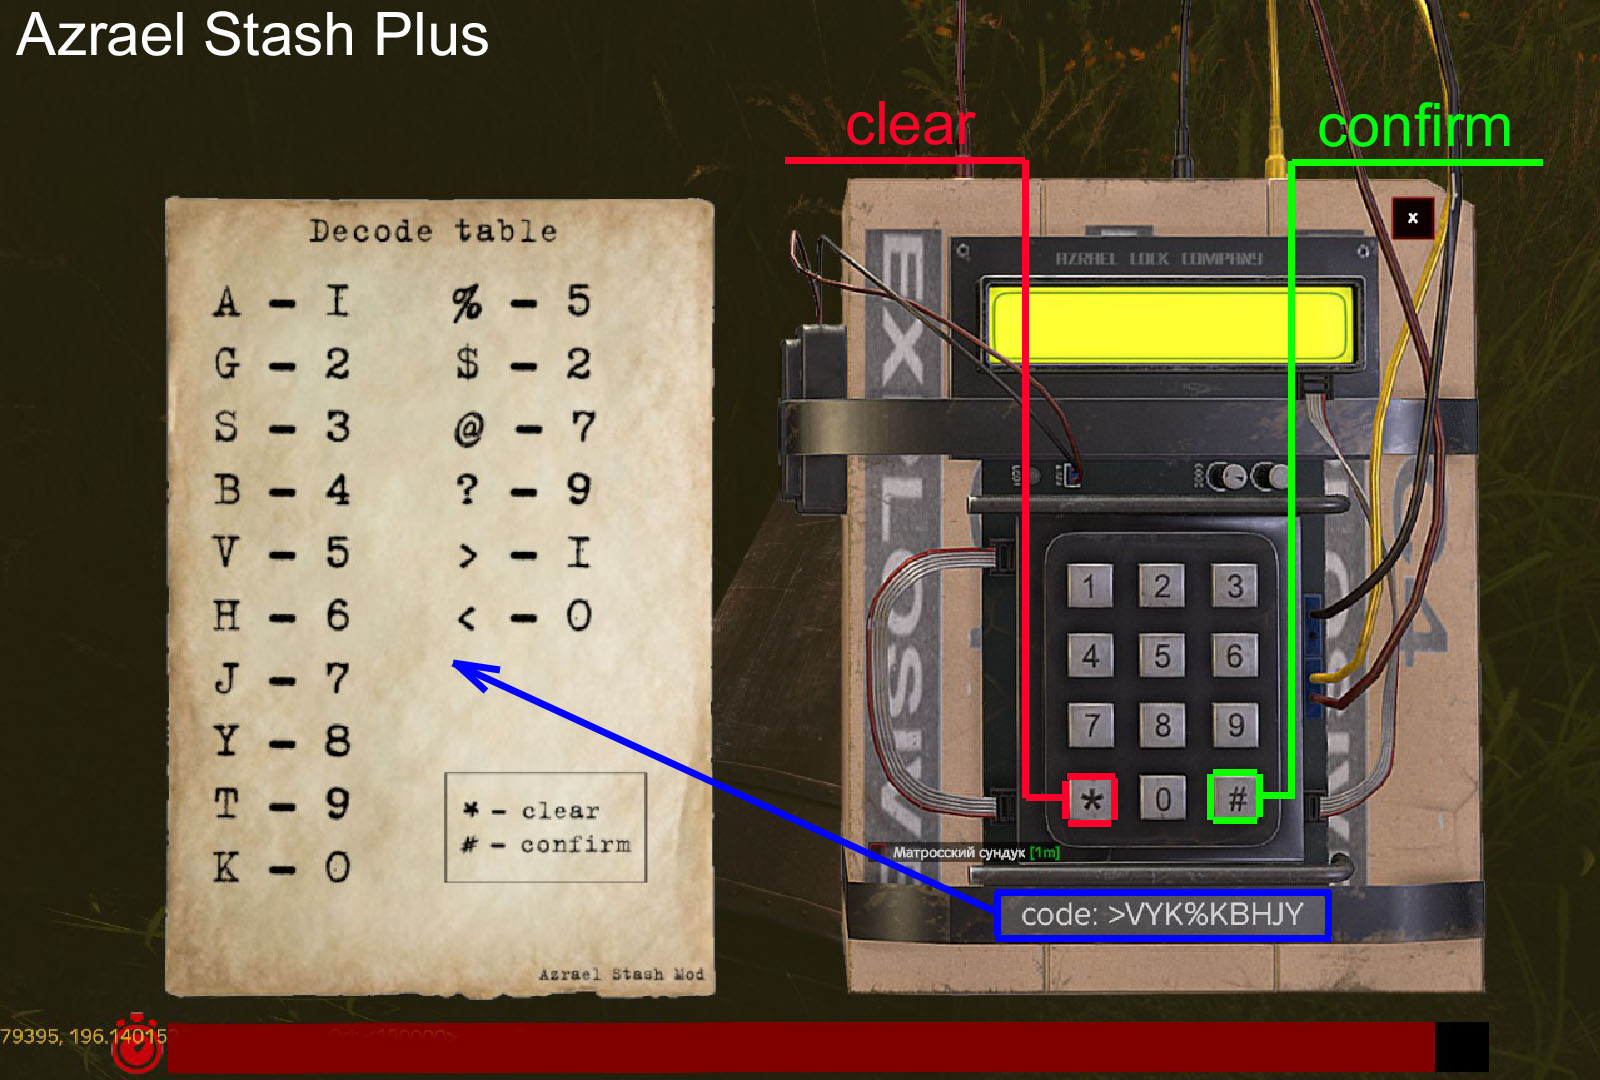
You have 45 seconds per attempt and 4 attempts total. The stash explodes at the end of the 4th failed attempt unless solved.
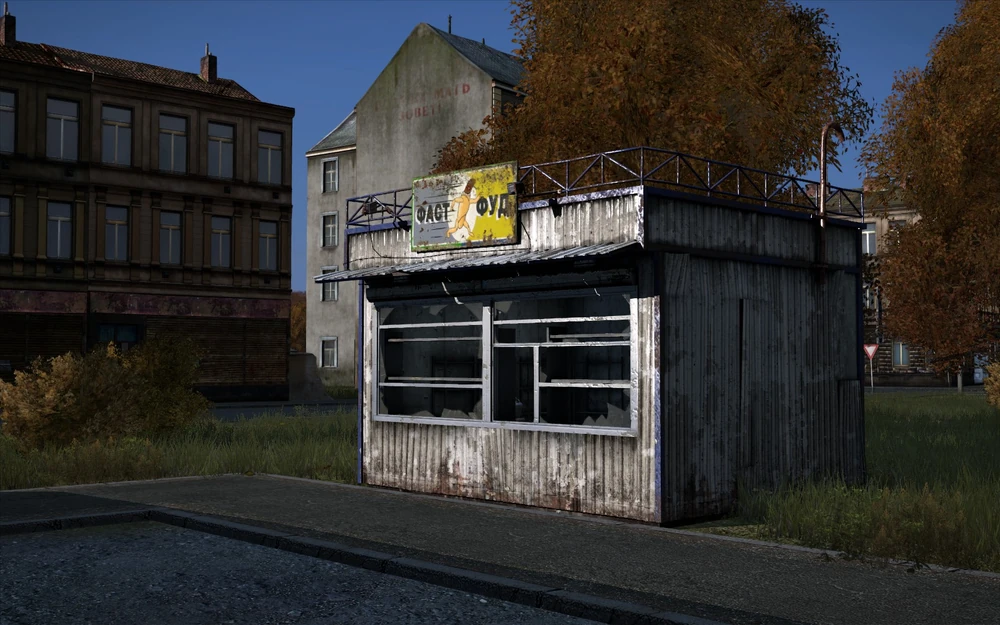
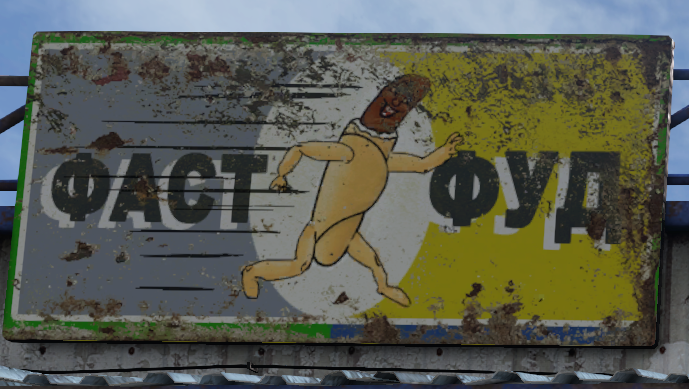
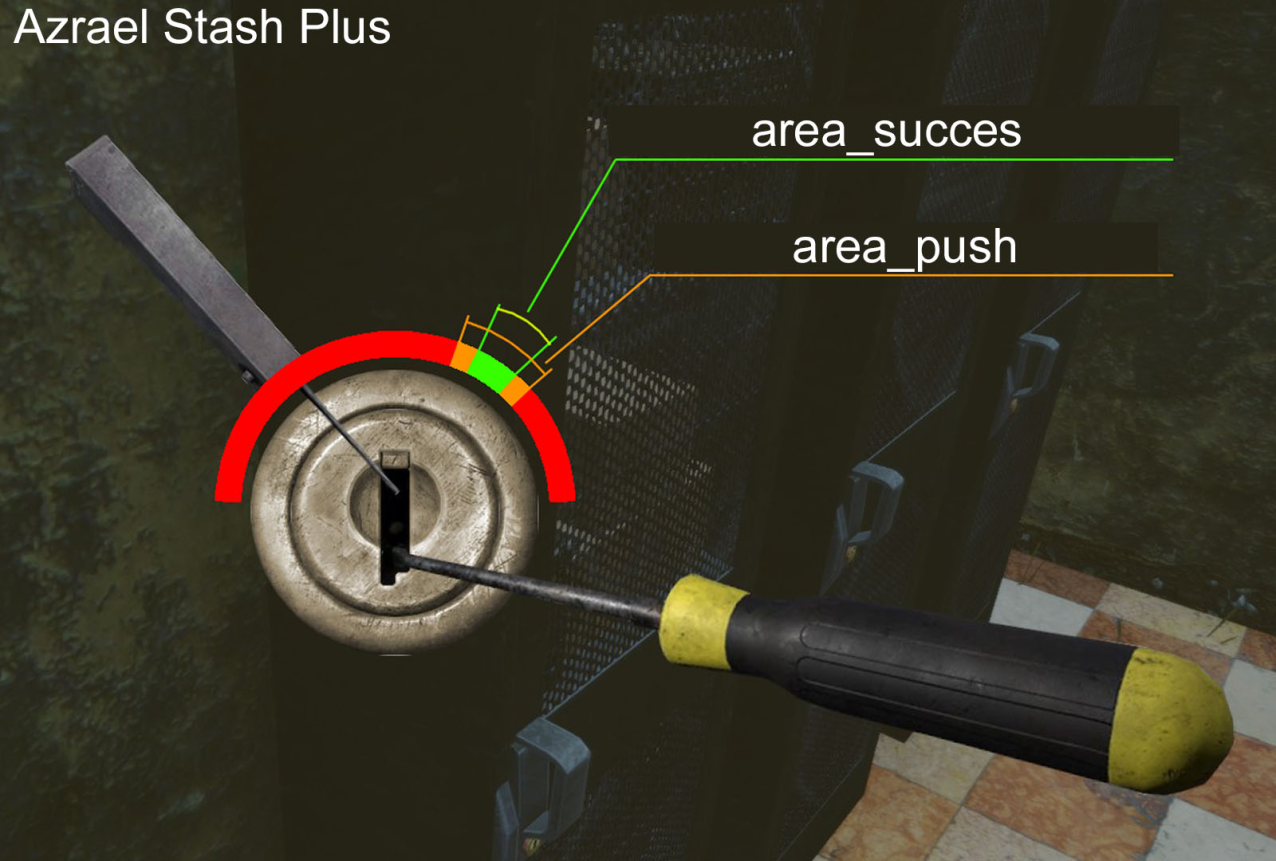
Have the lockpick in hand and screwdriver in inventory before starting. A failed Vanilla lockpick attempt destroys the lockpick.

BS Patrol Helicopter
Patrol helicopters fly set areas across Chernarus. If your group engages one, expect it to defend itself, with chase behavior and loot rewards scaling by difficulty.
Workshop Link
AI Convoy
AI Convoys are moving event props. The convoy ignores other AI and keeps driving until players damage the vehicle enough to force a combat stop.
Damage the convoy vehicle to the stop threshold. Player proximity, crew damage, and AI threat checks do not stop it.
AI passengers cannot be damaged or killed while riding. They only become vulnerable after the convoy stops and they dismount.
A moving convoy cannot be looted, entered, or stripped. Blocking or ramming it earns nothing.
Once stopped, the cargo can be looted, but the vehicle is never yours. Wheels, doors, battery, radiator, and seats stay locked down.
When stopped, the AI dismount and fight normally. The engine is ruined so the vehicle works as a loot container, not a prize.
Convoys despawn if they finish their route without being engaged. After combat, they despawn once players leave the area long enough.
Blocked convoys stop and continue, rammed convoys return to route, and flipped convoys right themselves after about 12 seconds.
Custom Zombies
Kamikaze and Tesla zombies add tool checks, EMP risk, and harvestable rewards to PvE runs.
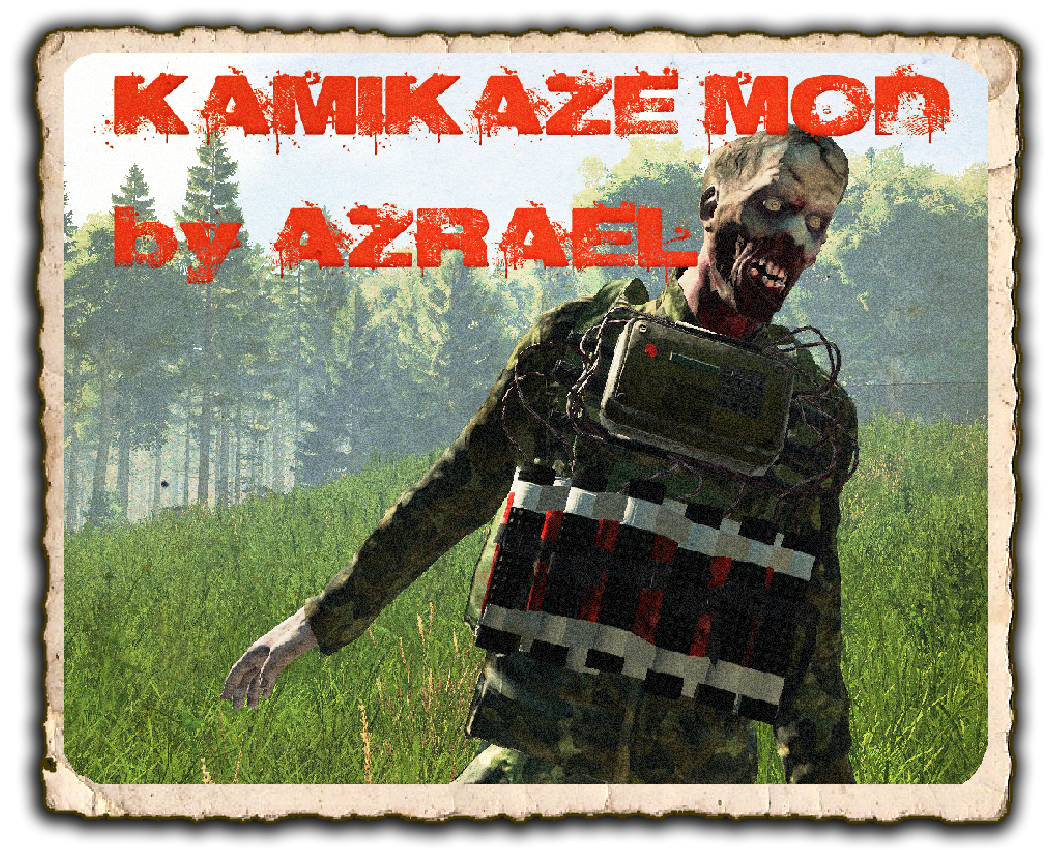
Attempts to remove the suicide vest can be made with these tools.
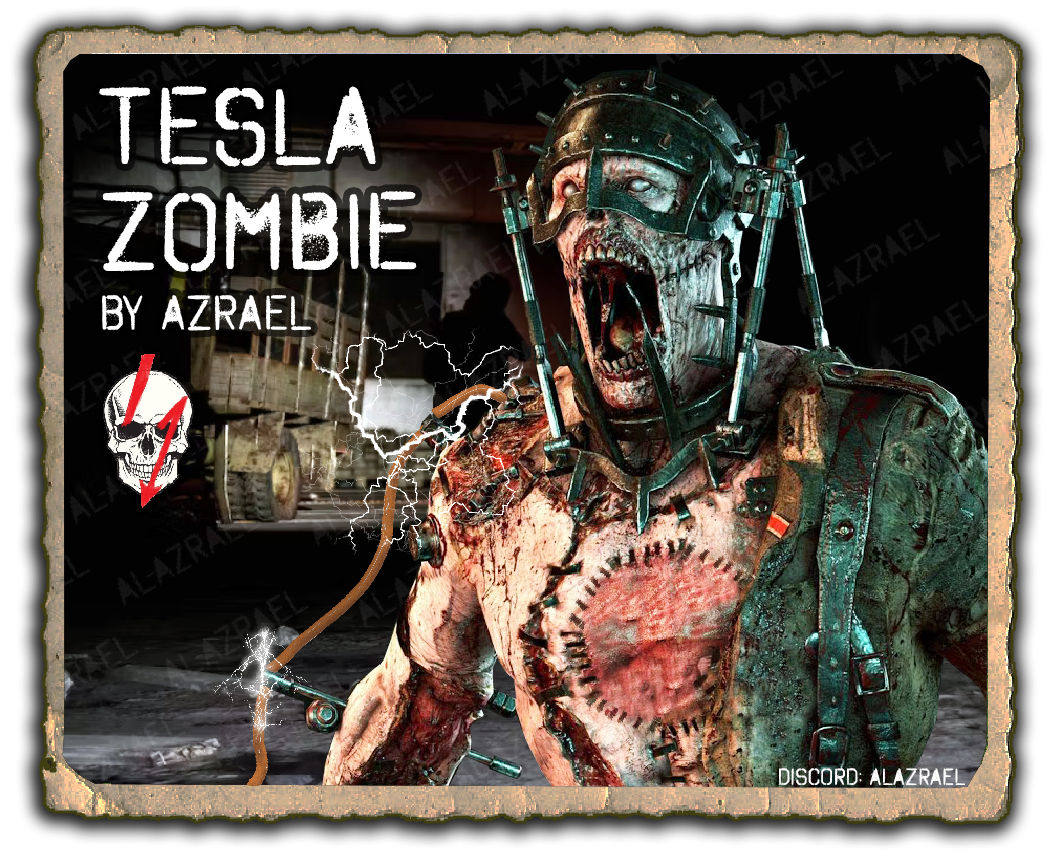
EMP discharge can hit electronics in your hands, backpack, and carried gear.
Basebuilding
Ink Gaming carries several cabin-style basebuilding options at the BaseBuilding Vendor, including immediate-use and build-required kits.
60 Small Metal Sheets. Red, Green, and Black colors are craftable.
Full quantity Crop/Plant Material + Plantnarok Seedspack. 6 plant types are craftable.
50 Small Plastic Sheets.
50 Small Plastic Sheets.
16 Wooden Planks, 80 Small Metal Sheets, 80 Nails.
50 Small Plastic Sheets.
20 Nails, 4 Wooden Planks. Use Red Paintcan to paint and White Paintcan to clean.
32 Stones, the big ones.
20 Nails, 4 Wooden Planks.
60 Small Metal Sheets.
40 Small Metal Sheets, 40 Small Plastic Sheets.
100 Small Metal Sheets.
100 Small Metal Sheets, 40 Nails, 20 Planks.
4 Tarps.
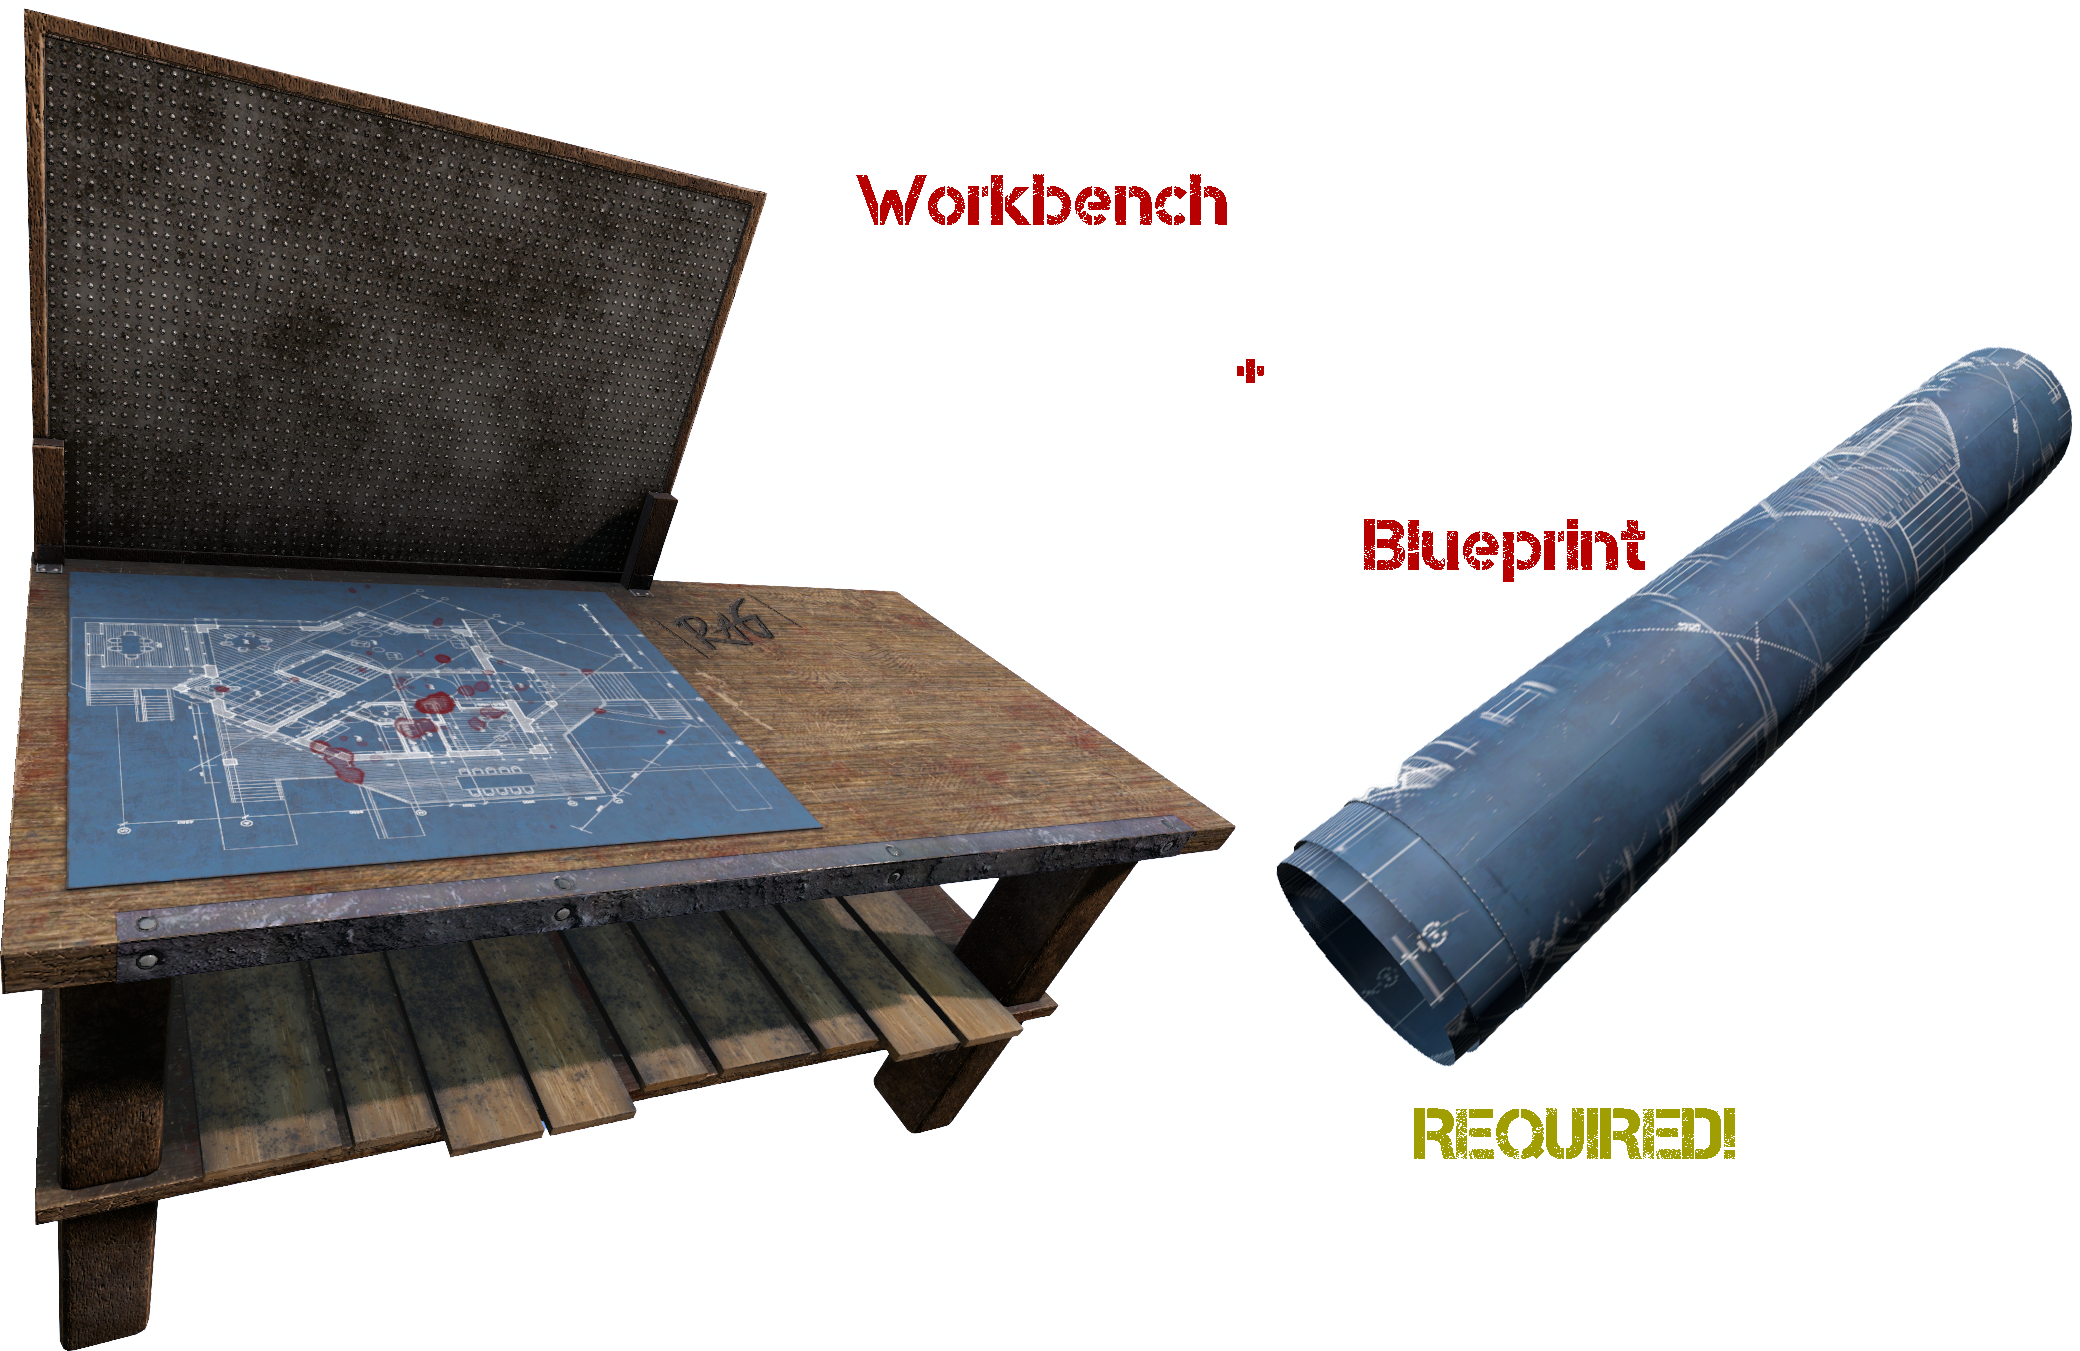
BBP uses a workbench and kits for most major structure pieces. Keep a BBP Book handy for the Workbench craft, and use the Workbench UI for base kits.
Frame: 10 Nails + 5 Planks. T1 Wood: Frame + 10 Nails + 2 Logs. T1 Planks: Frame + 10 Nails + 6 Planks. T2 Metal: Frame + T1 Built + 4 Sheet Metal + 10 Nails. T3 Concrete: Frame + 3 Concrete Bricks + 1 Mortar Mix with Shovel or Pickaxe.
Frame: 10 Nails + 3 Planks. T1 Wood: Frame + 10 Nails + 1 Log. T1 Planks: Frame + 10 Nails + 3 Planks. T2 Metal: Frame + T1 Built + 2 Sheet Metal + 10 Nails. T3 Concrete: Frame + 2 Concrete Bricks + 1 Mortar Mix with Shovel or Pickaxe.
Frame: 10 Nails + 3 Planks. T1 Wood: Frame + 10 Nails + 1 Log. T1 Planks: Frame + 10 Nails + 3 Planks. T2 Metal: Frame + T1 Built + 2 Sheet Metal + 10 Nails. T3 Concrete: Frame + 2 Concrete Bricks + 1 Mortar Mix with Shovel or Pickaxe.
Frame: 5 Nails + 2 Planks. T1 Wood: Frame + 10 Nails + 1 Log. T1 Planks: Frame + 10 Nails + 2 Planks. T2 Metal: Frame + T1 Built + 1 Sheet Metal + 5 Nails. T3 Concrete: Frame + 1 Concrete Brick with Shovel or Pickaxe.
Frame: 10 Nails + 5 Planks. T1 Wood: Frame + 10 Nails + 2 Logs. T1 Planks: Frame + 10 Nails + 5 Planks. T2 Metal: Frame + T1 Built + 3 Sheet Metal + 10 Nails. T3 Concrete: Frame + 3 Concrete Bricks + 1 Mortar Mix. Door tiers: T1 Door = Frame + 10 Nails + 5 Planks. T2 Door = Frame + T1 Door Built + 15 Nails + 5 Sheet Metal. T3 Door = Frame + 15 Nails + 5 Sheet Metal + 5 Planks. Cannot build T3 if T1 or T2 door is built.
Frame: 10 Nails + 3 Planks. T1 Wood: Frame + 10 Nails + 2 Logs. T1 Planks: Frame + 10 Nails + 5 Planks. T2 Metal: Frame + T1 Built + 2 Sheet Metal + 4 Nails. T3 Concrete: Frame + 1 Concrete Brick + 1 Mortar Mix. Door tiers match Large Door rules.
Frame: 10 Nails + 5 Planks. T1 Wood: Frame + 10 Nails + 2 Logs. T1 Planks: Frame + 10 Nails + 5 Planks. T2 Metal: Frame + T1 Built + 3 Sheet Metal + 10 Nails. T3 Concrete: Frame + 2 Concrete Bricks + 1 Mortar Mix.
Frame: 10 Nails + 5 Planks. T1 Wood: Frame + 10 Nails + 8 Planks. T2 Metal: Frame + T1 Built + 3 Sheet Metal + 10 Nails. T3 Concrete: Frame + 2 Concrete Bricks + 1 Mortar Mix.
Frame: 5 Nails + 3 Planks. T1 Wood: Frame + 5 Nails + 3 Planks. T2 Metal: Frame + T1 Built + 1 Sheet Metal + 5 Nails. T3 Concrete: Frame + 1 Concrete Brick.
Frame: 10 Nails + 5 Planks. T1 Wood: Frame + 24 Nails + 16 Planks. T2 Metal: Frame + T1 Built + 4 Sheet Metal + 20 Nails. T3 Concrete: Frame + 3 Concrete Bricks + 1 Mortar Mix.
Frame: 10 Nails + 5 Planks. T1 Wood: Frame + 10 Nails + 8 Planks. T2 Metal: Frame + T1 Built + 3 Sheet Metal + 10 Nails. T3 Concrete: Frame + 2 Concrete Bricks + 1 Mortar Mix.
Frame: 10 Nails + 3 Planks. T1 Wood: Frame + 10 Nails + 5 Planks. T2 Metal: Frame + T1 Built + 2 Sheet Metal + 10 Nails. T3 Concrete: Frame + 1 Concrete Brick + 1 Mortar Mix.
Frame: 10 Nails + 5 Planks. T1 Wood: Frame + 10 Nails + 6 Planks. T2 Metal: Frame + T1 Built + 3 Sheet Metal + 10 Nails. T3 Concrete: Frame + 2 Concrete Bricks + 1 Mortar Mix. Stair: 5 Planks + 10 Nails. T1 Hatch: Frame + 10 Nails + 5 Planks. T2 Hatch: Frame + T1 Hatch + 10 Nails + 4 Sheet Metal. T3 Reinforced Hatch: Frame + 5 Planks + 4 Sheet Metal + 20 Nails.
Frame: 10 Nails + 2 Logs. T1 Wood Floor: Frame + 10 Nails + 8 Planks. T2 Metal Floor: Frame + T1 Built + 3 Sheet Metal + 10 Nails. T3 Concrete: Frame + 2 Concrete Bricks + 1 Mortar Mix.
Frame: 10 Nails + 4 Planks. T1 Wood: Frame + 24 Nails + 16 Planks. T2 Metal: Frame + T1 Built + 4 Sheet Metal + 20 Nails. T3 Concrete: Frame + 3 Concrete Bricks + 1 Mortar Mix.
Frame: 10 Nails + 4 Planks. T1 Wood Door x2: Frame + 12 Nails + 8 Planks. T2 Metal Door x2: Frame + T1 Door + 10 Nails + 2 Sheet Metal. T3 Concrete x2: Frame + 1 Concrete Brick + 1 Mortar Mix.
Assembly: Frame = 10 Nails + 4 Planks. T1 Wood = Frame + 24 Nails + 16 Planks. T2 Metal = Frame + T1 Built + 4 Sheet Metal + 20 Nails. T3 Concrete = Frame + 3 Concrete Bricks + 1 Mortar Mix. Disassembly frame returns 8 Nails + 3 Planks + Kit. T3 Concrete returns 2 Concrete Bricks + 1 Mortar Mix.
Frame: 10 Nails + 5 Planks. T1 Log: Frame + 10 Nails + 2 Logs. T1 Plank: Frame + 10 Nails + 8 Planks. T2 Metal: Frame + T1 Built + 4 Sheet Metal + 10 Nails. T3 Concrete: Frame + 3 Concrete Bricks + 1 Mortar Mix. Hatch: T1 = Frame + 5 Nails + 2 Planks. T2 = Frame + T1 Hatch + 5 Nails + 2 Sheet Metal. T3 Reinforced = Frame + 5 Planks + 3 Sheet Metal + 10 Nails.
T1 Log: Frame + 10 Nails + 1 Log. T1 Planks: Frame + 10 Nails + 3 Planks. T2 Metal: Frame + T1 Built + 2 Sheet Metal + 10 Nails. T3 Concrete: Frame + 1 Concrete Brick + 1 Mortar Mix. Hatch: T1 = Frame + 5 Nails + 2 Planks. T2 = Frame + T1 Hatch + 5 Nails + 2 Sheet Metal. T3 Reinforced = Frame + 5 Planks + 2 Sheet Metal + 5 Nails.
T1 Frame: 10 Nails + 2 Logs. Barbwire: 10 Nails + 1 Barbwire.
Frame: 10 Nails + 2 Sheet Metal. T2 Fence: 10 Nails + 2 Sheet Metal. Barbwire: 10 Nails + 1 Barbwire.
Frame: 10 Nails + 2 Sheet Metal. T2 Gate x2: 10 Nails + 1 Sheet Metal. Barbwire: 10 Nails + 1 Barbwire.
Frame: 10 Nails + 1 Sheet Metal. T2 Floor: 10 Nails + 2 Sheet Metal.
Metal Stair: 10 Nails + 1 Sheet Metal. Railing x2: 3 Nails + 1 Sheet Metal.
Tall Pillar Wood: 5 Nails + 2 Planks. Tall Pillar Concrete: 1 Concrete Brick. Short Pillar Wood: 5 Nails + 1 Plank. Short Pillar Concrete: 1 Concrete Brick.
Large Stair Wood: 10 Nails + 5 Planks. Small Stair Wood: 5 Nails + 5 Planks. Large Ramp Wood: 15 Nails + 8 Planks.
3D Printer
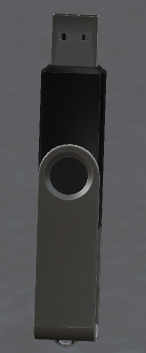
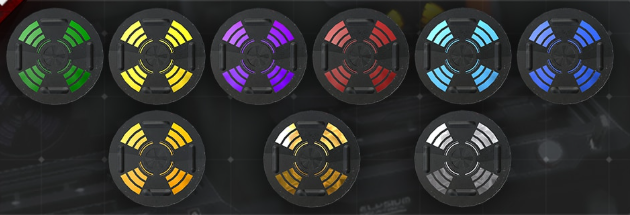
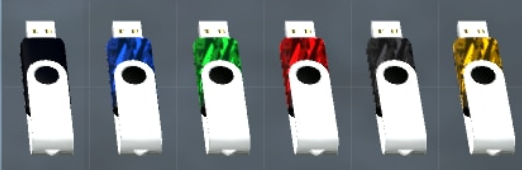
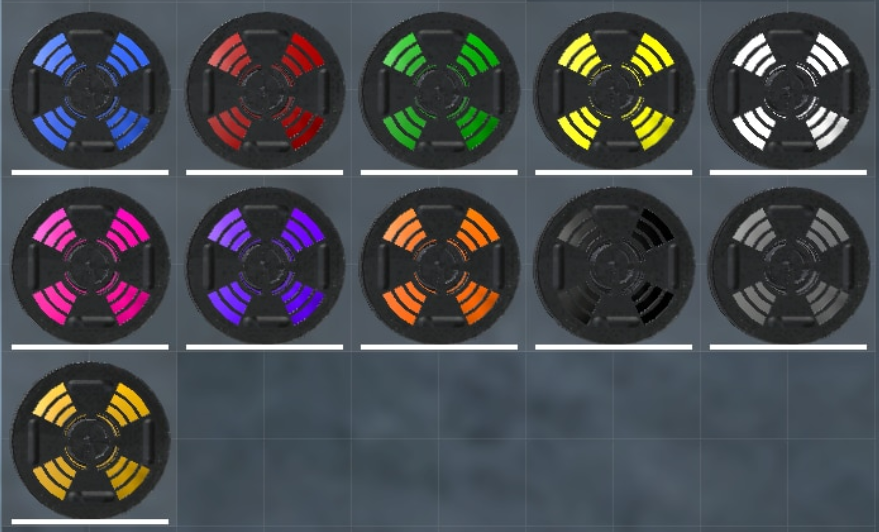
USB recipes are indistinguishable until inserted into a printing machine. Put the USB in the printer to see what recipes are on it and what filament color each print requires.